Emerald Urethane Trim Enamel: Painting Kitchen Cabinets Made Easy
Thank you to Purdy and Sherwin Williams for sponsoring this project. Oh, and this post contains affiliate links, which means if you make a purchase through one of the links below, I get a teensie commission at no extra cost to you of course.
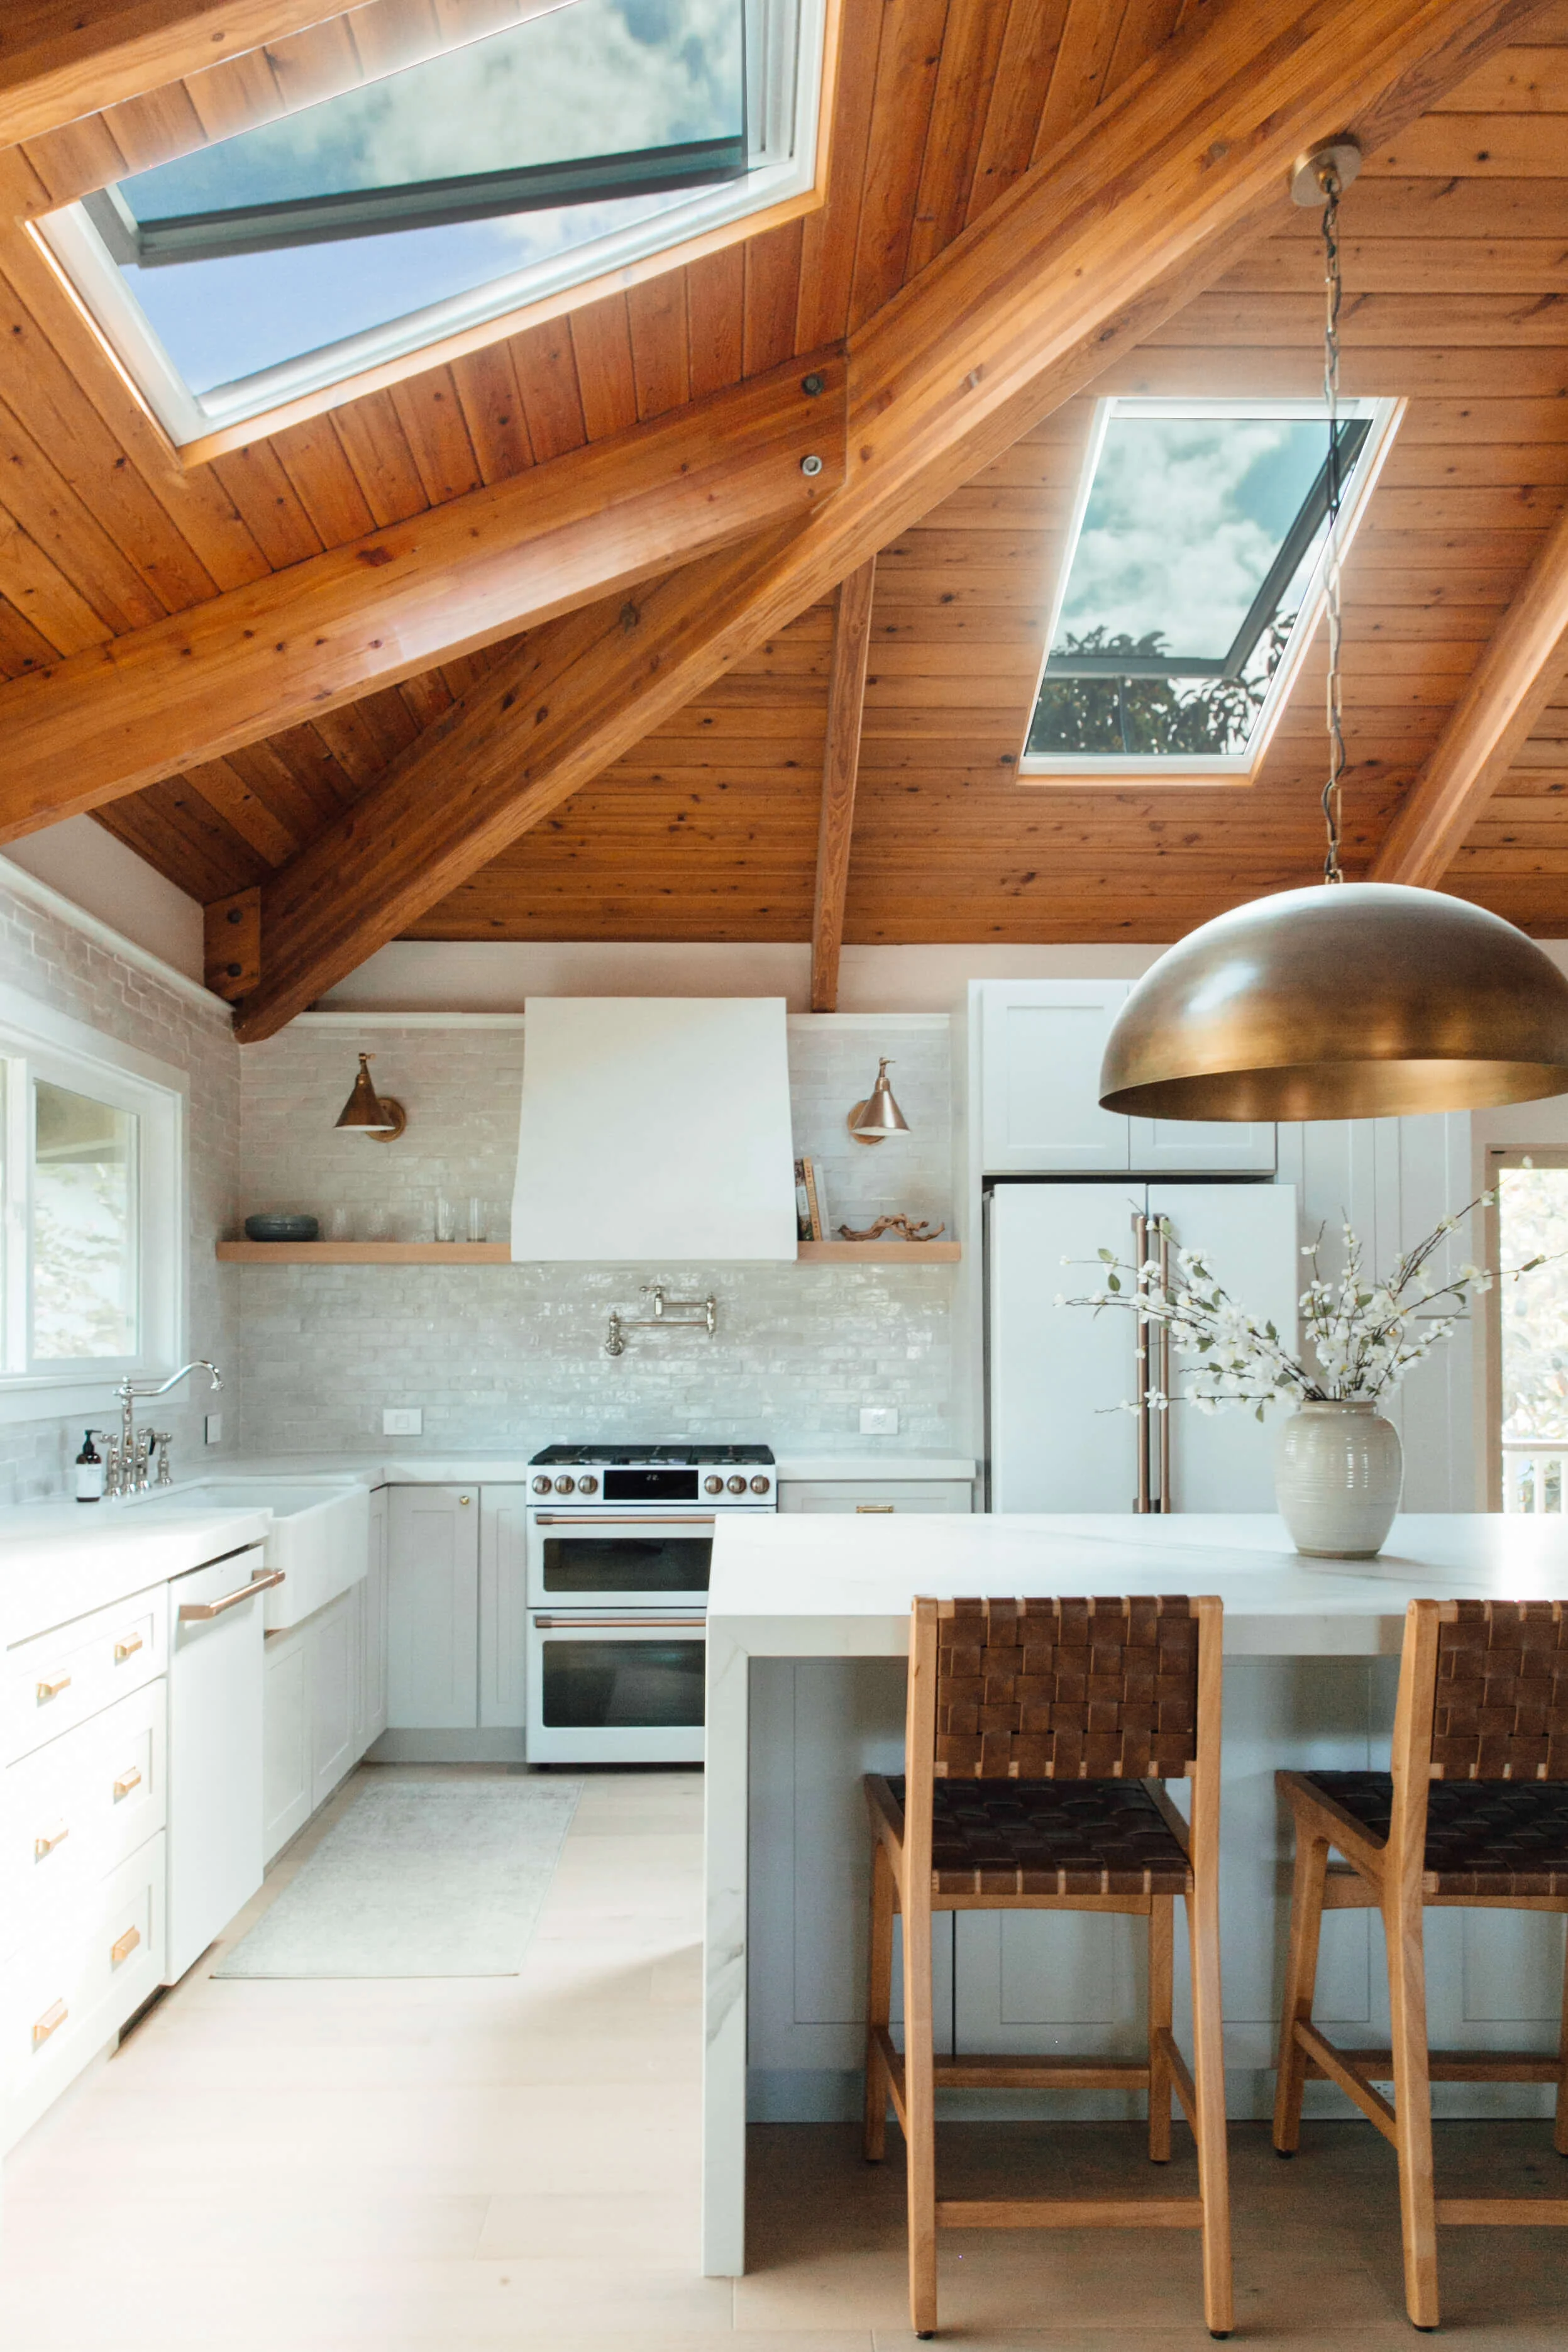
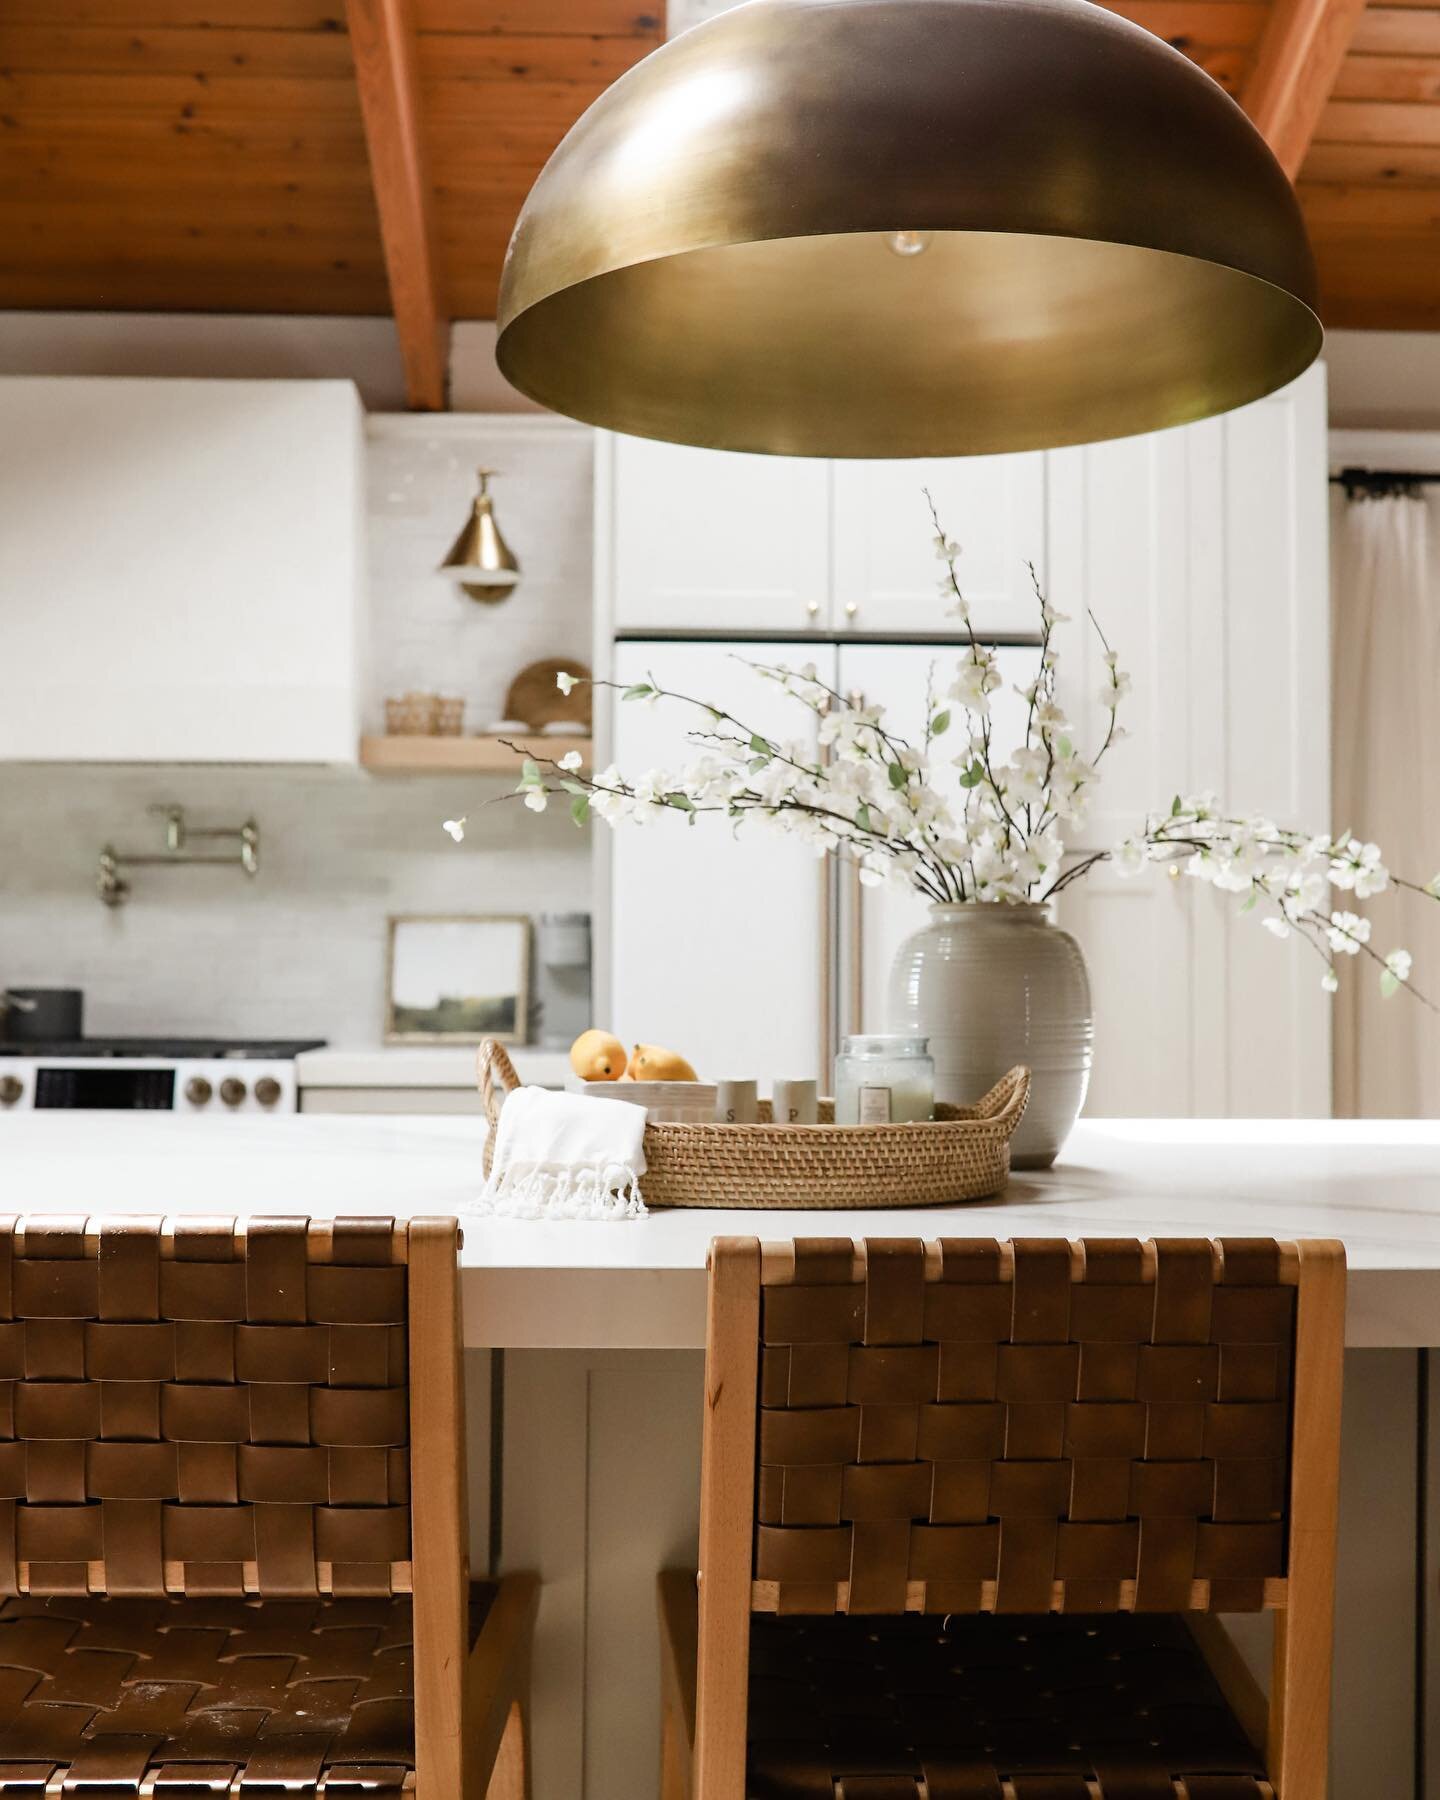
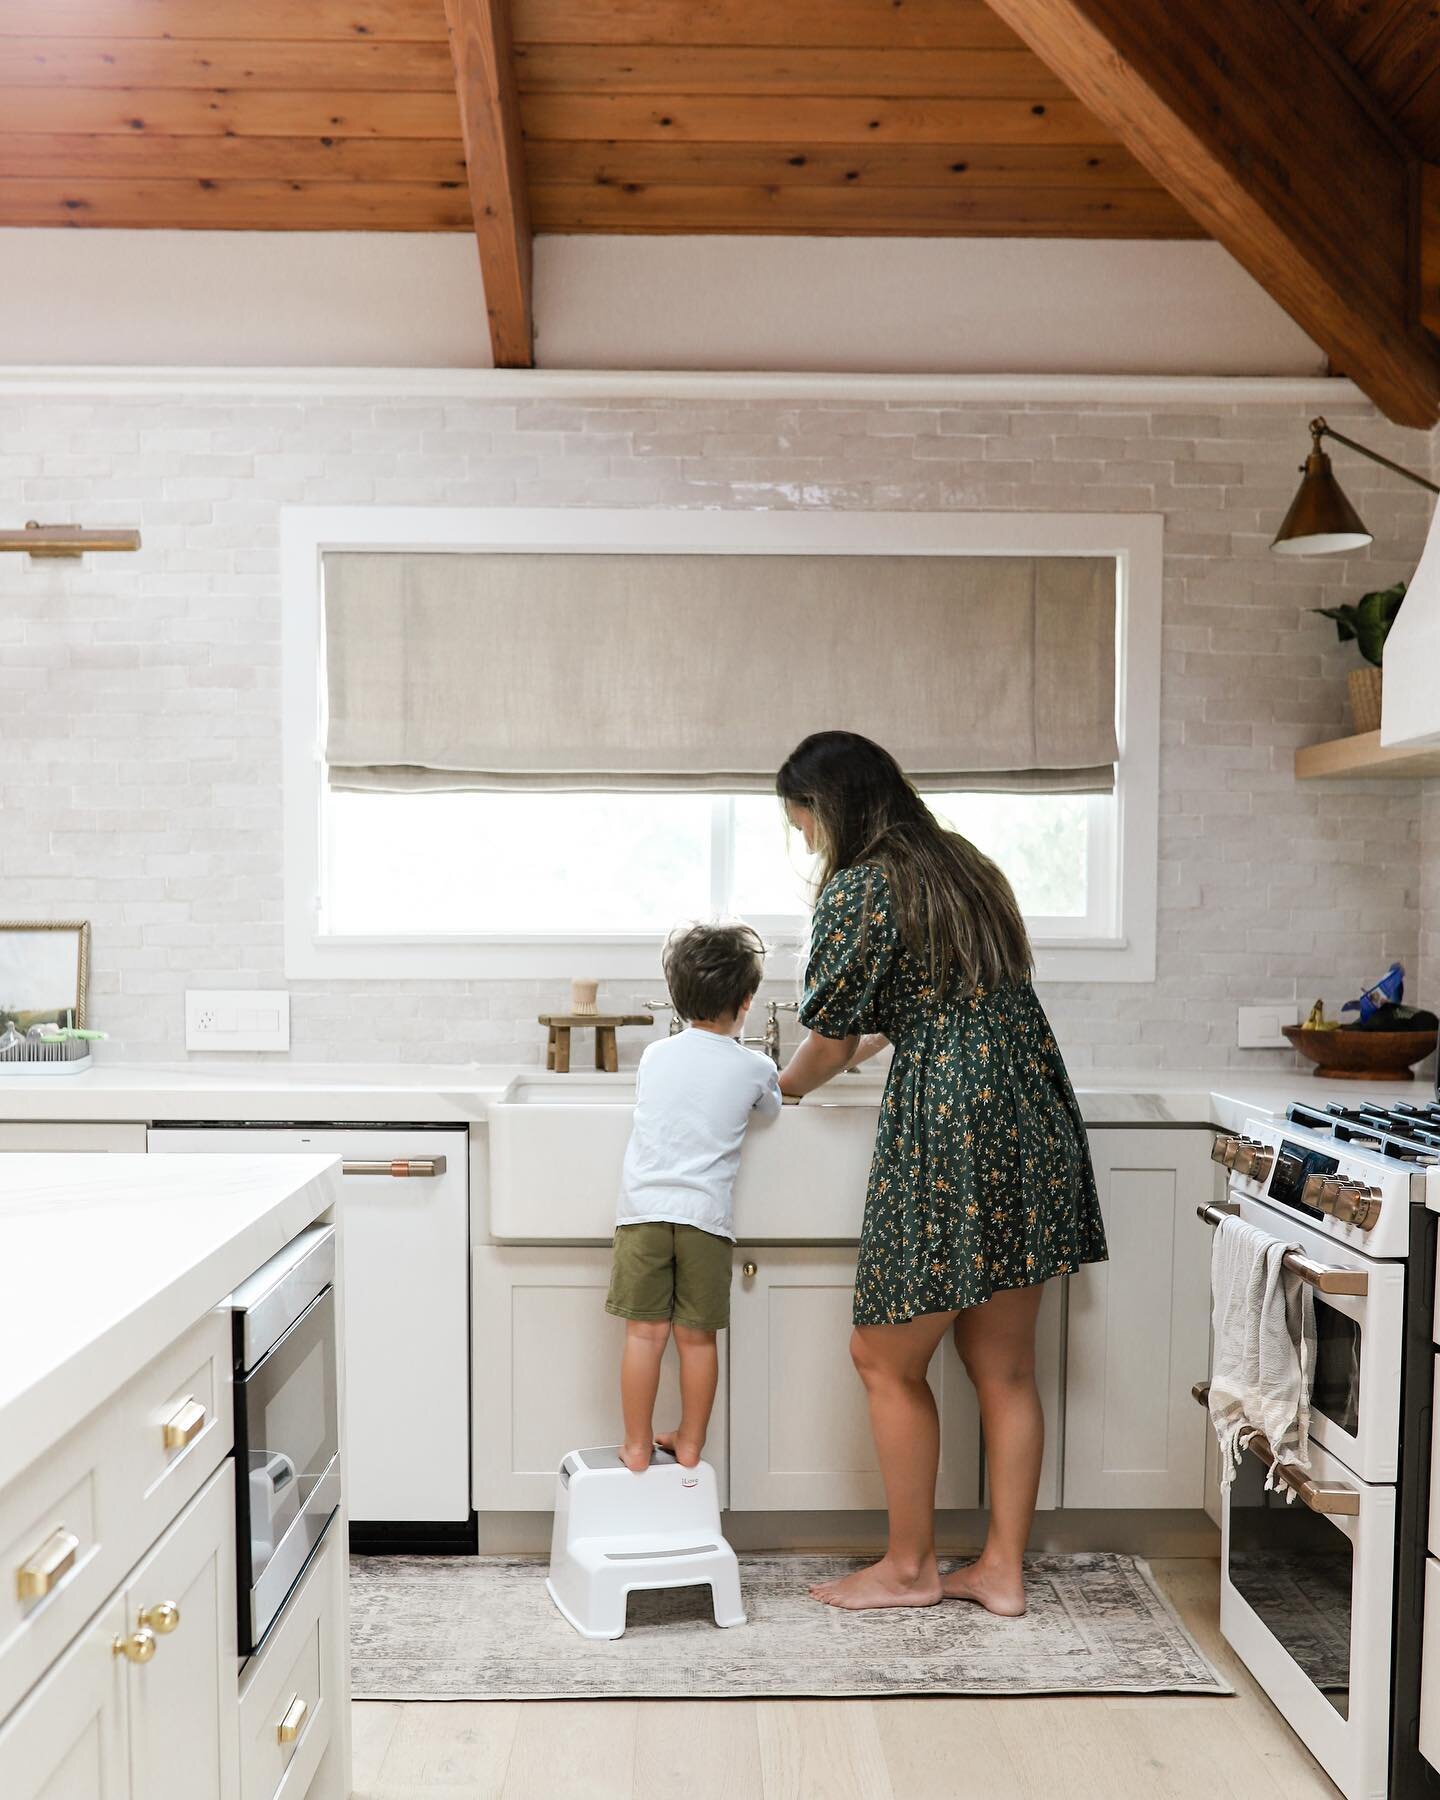
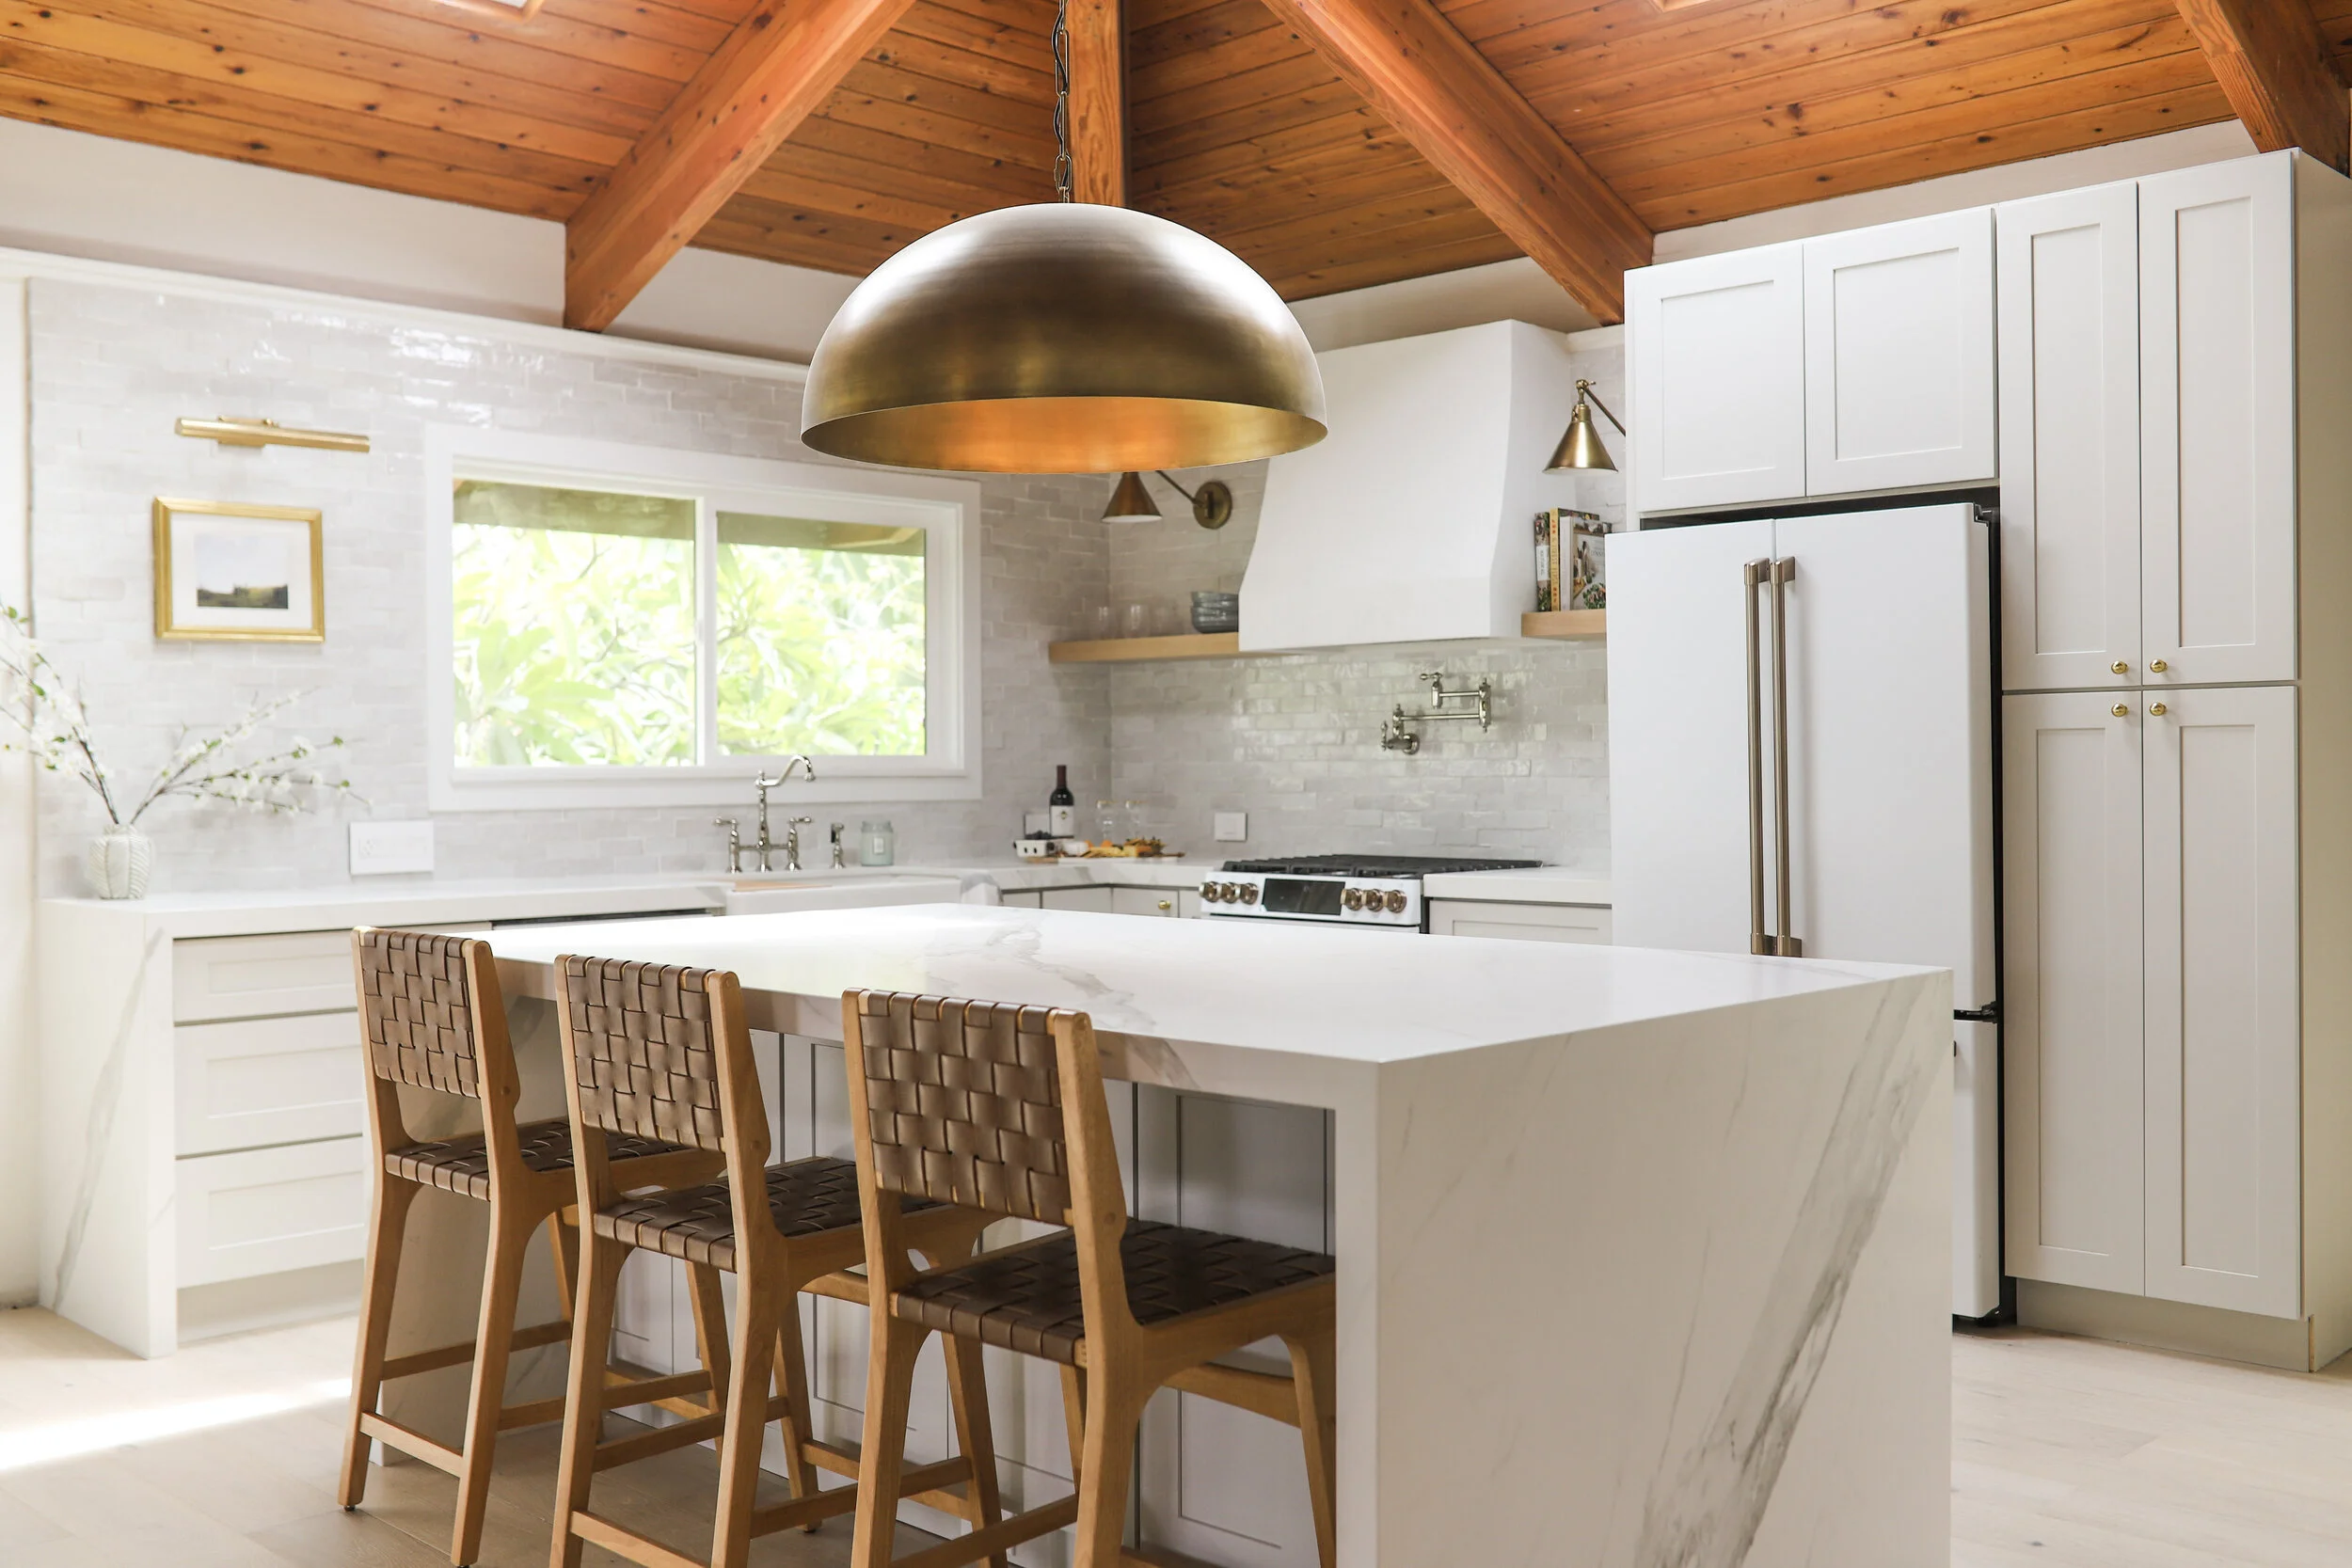
Guess what? I painted my kitchen cabinets using Sherwin Williams’ Emerald Urethane Trim Enamel.
And they. freaking. look. BOMB.
The verdict is in- save yourself thousands of dollars and give it a go, I KNOW you can do it.
How to get a smooth finish with Emerald Urethane Trim Enamel
WHAT YOU NEED:
Degreaser (if your kitchen cabinets are new, don’t worry about this one)
Deglosser (optional)
Construction Paper and Tape


Sherwin Williams Extreme Bond Primer or Shellac Based Primer if you are painting over wood cabinets
Sherwin Williams Emerald Urethane Trim Enamel
220-400 grit sandpaper or sanding blocks
Tack cloths or damp towels
Screwdriver or drill
Optional: Wagner Paint Sprayer

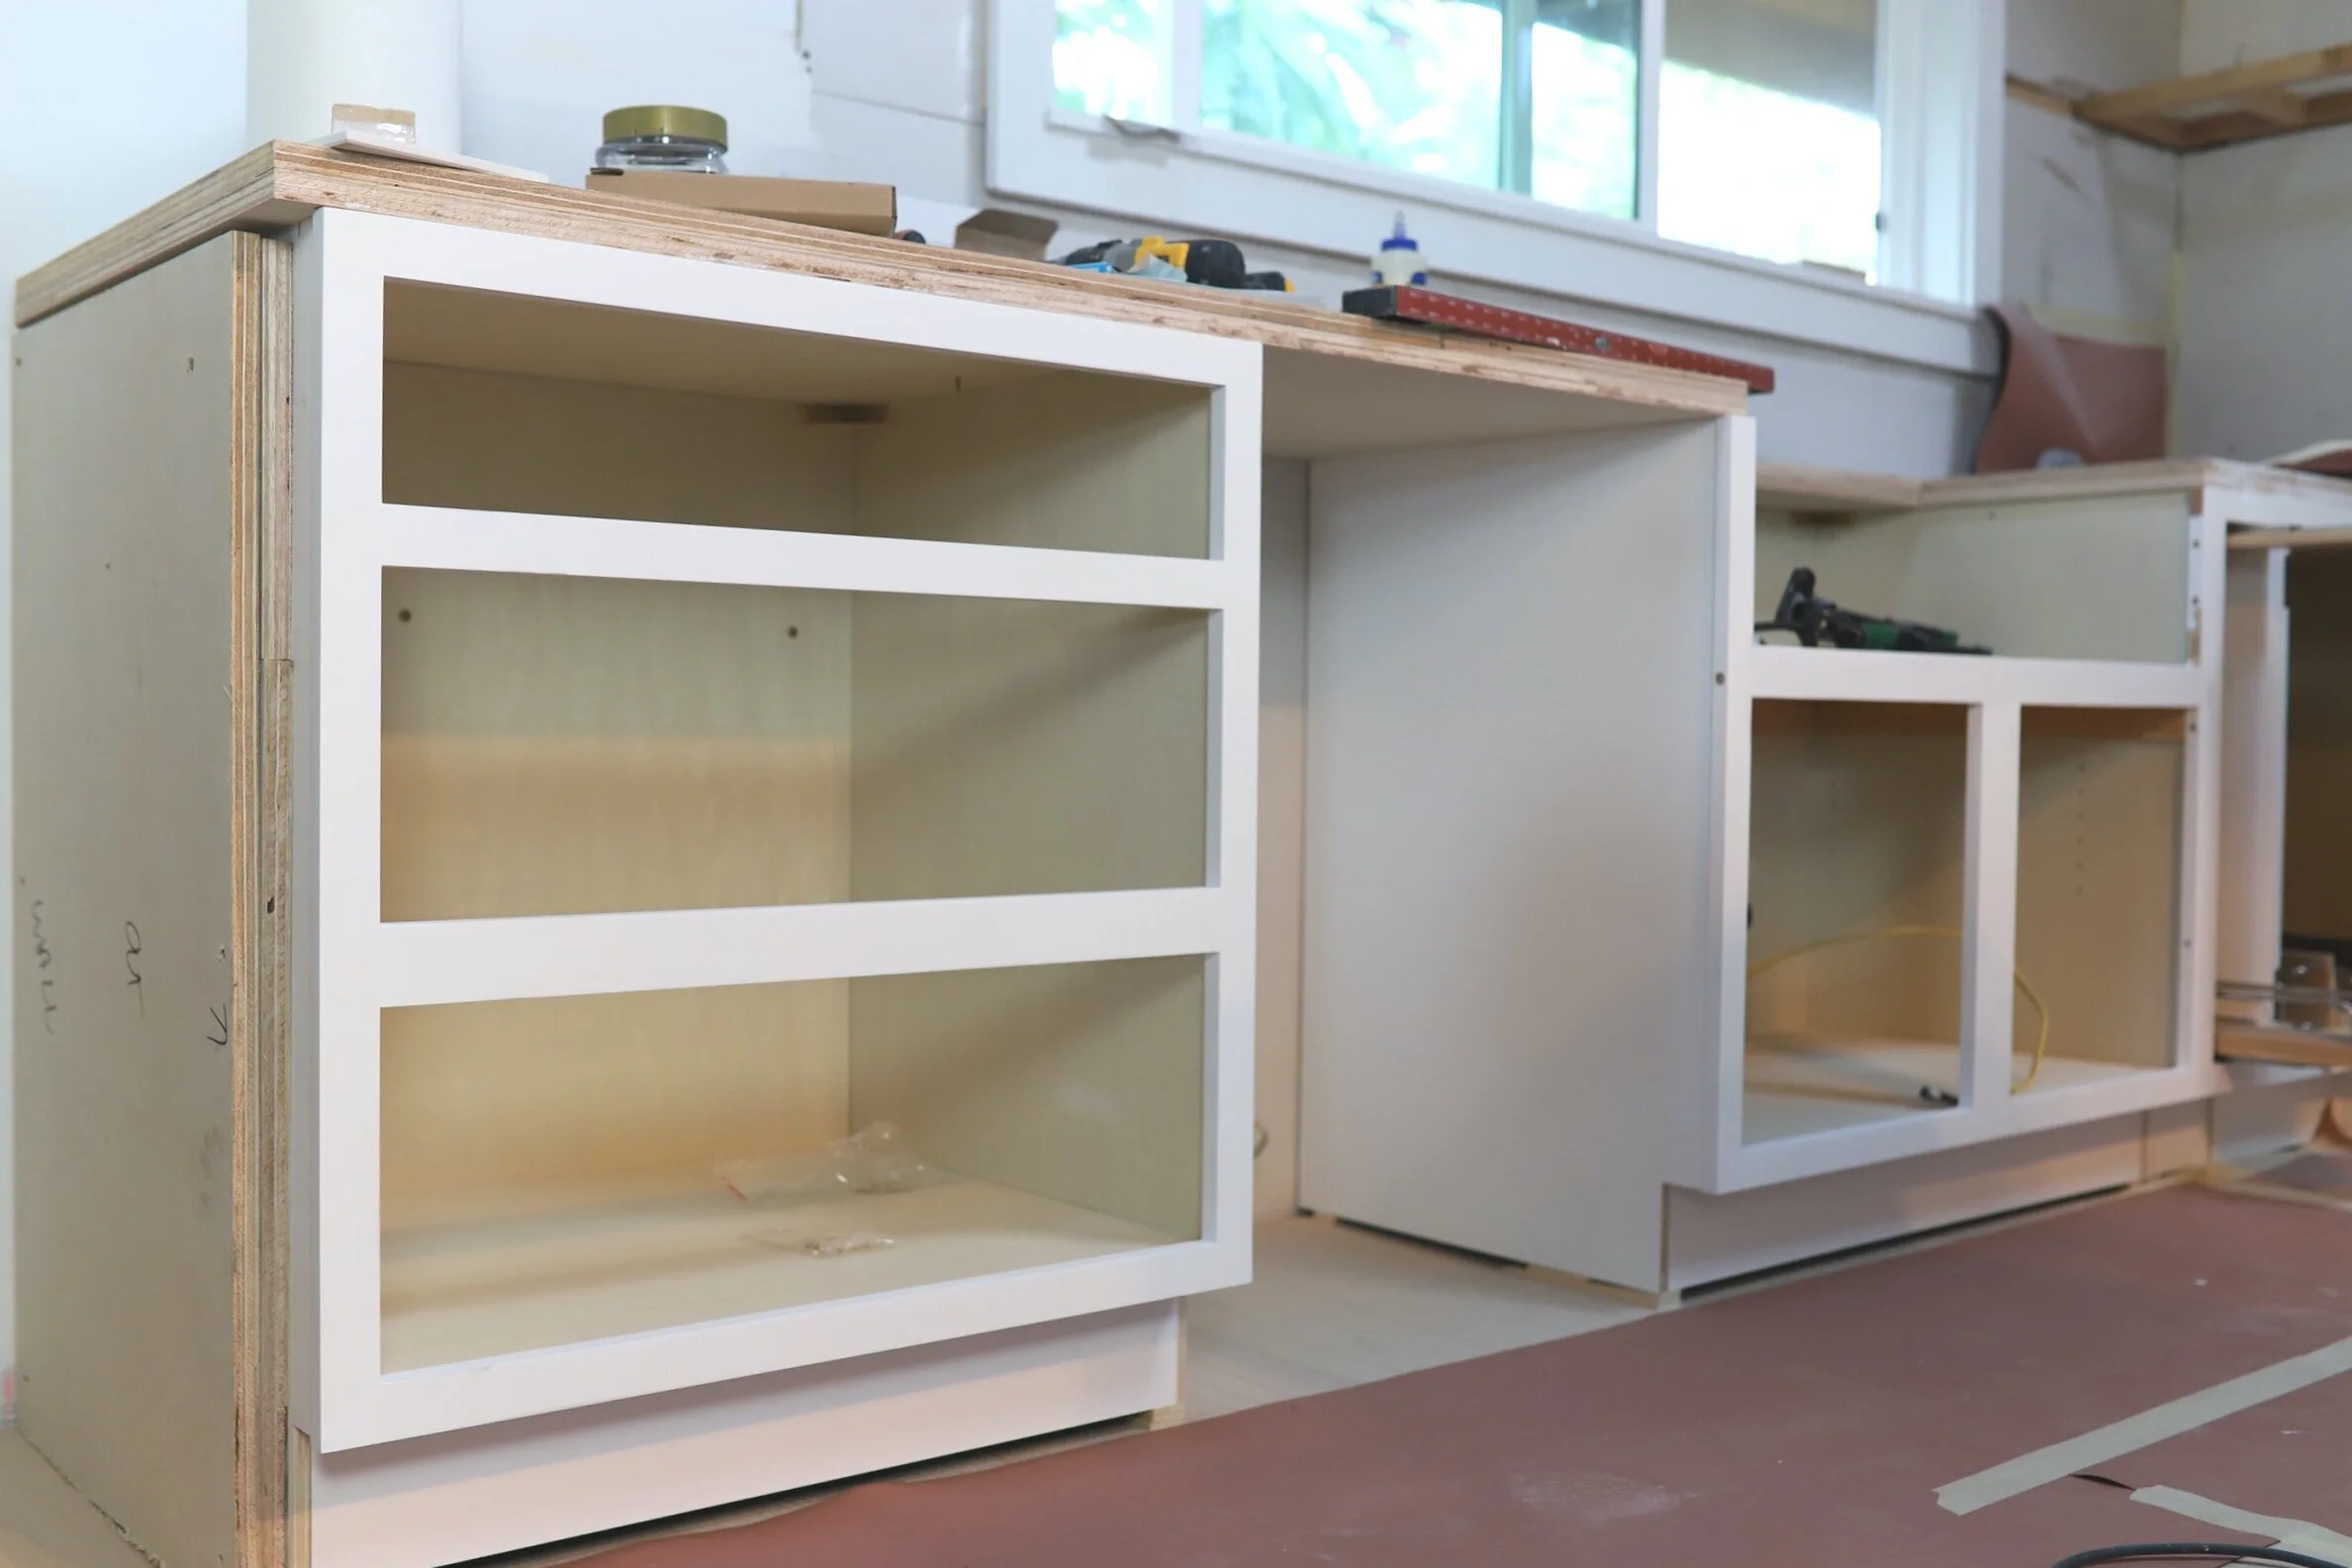
STEP 1: P R E P
This is where the screwdriver or drill comes in handy. You’ll need to first remove your cabinet door fronts. And pay close attention here - note each hinge you remove, and where it belongs, and place it in a ziplock bag - labeled. Why? Because you want all your doors and fronts to line up exactly the same before you removed them. Write the name of the cabinet in the hinge hole (on the back of the door) and cover it with a piece of tape so it doesn’t get covered with paint (particularly if you are using a sprayer). This is important if you have a bunch of doors that are the same size as you want the doors to go back in the exact same places as the position of the holes may be slightly different.
Next, if your kitchen cabinets have seen a lot of love, aka lots of delicious home-cooked meals or greasy kid fingers, you’ll want to clean with a degreaser. Don’t forget the exposed face frames too. Our kitchen cabinets were new, and we were just changing the color, so we skipped this step.
Cover the countertops (if you are painting upper cabinets), range hood and floor with construction paper and tape. No need to prep the inside of the cabinets if you are just painting the face frames and doors (like we did).

Next you’ll want to lightly sand the cabinets and face frames just to rough them up a bit, so the primer reeeeally sticks on there. I used an orbital sander, but you can use a sanding block and it’ll be just as good. You can use something fine in the 200 - 320 grit range. The good thing about using a sanding block is you can get any crevices in the door frame (think shaker door front with grooves) that an orbital sander will miss. HACK: Wrap a piece of sandpaper around a scrap piece of wood for a DIY sanding block.
Optional: If you don’t want to sand your cabinets, use a deglosser (aka liquid sander), this will take the shine off your cabinets and allow the primer to stick better. The Sherwin Williams Extreme Bond Primer is so sticky you don’t HAVE to use a deglosser, but it will help ensure a good bond. We did not use a de-glosser but I have seen people do it with success.
After you sand, you want to take some time to get all the dust off. Nobody wants chunks of dust and paint built up in the corners. I think a tack cloth works the best, but if you have a wet paper towel handy, or heck, even a compressed air keyboard cleaner that will work too.
If you are able to paint in a garage or a covered area, do it. We painted in our driveway and debris and bugs kept falling on our cabinets-no bueno. It was OK because we just did a light sand after the paint dried but it could have been avoided. If you want, you can purchase one of these painting tents that work really well. The downside is you have to carry each individual cabinet face in and out of the tent.
SIDE NOTE: PAINTING OVER WOOD?
One thing I do want to touch on is tannins in your wood cabinets. No clue what they are? Read on and this will save you some heartache. Are your cabinets or furniture made out of pine, oak, redwood, cedar, or mahogany? Although I did not have this problem, I have read multiple accounts of people painting their wood cabinets only to later have brown or pink spots showing through. These are the tannins in wood. Sherwin Williams has a great blog post explaining tannins and how to prevent them that you should definitely check out here. - spoiler alert, use a shellac based primer over your wood cabinets, not one that is water based. You want it to say, “stain blocker.”
BONUS TIP: If you are having the problem with knots showing through your paint on your window trim or furniture, put a coat of clear nail polish (if you don’t have shellac based primer handy) over the knots before you paint and it’ll prevent the tannins from coming through. You won’t do this on your kitchen cabinets, however. so use a shellac based primer instead.

STEP 2: P R I M E
There are two ways to get the paint and primer on your cabinets: rolling or spraying. With the Sherwin Williams Urethane Trim Enamel and the tips I give you below, you’ll be able to get a smooth finish with either method. Spraying is a little quicker (what we did), but if you don't wan to invest in a paint sprayer, rolling on your paint is totally do-able.
TIP: Do the backs of the cabinets first, and end with the front (for both priming and painting).
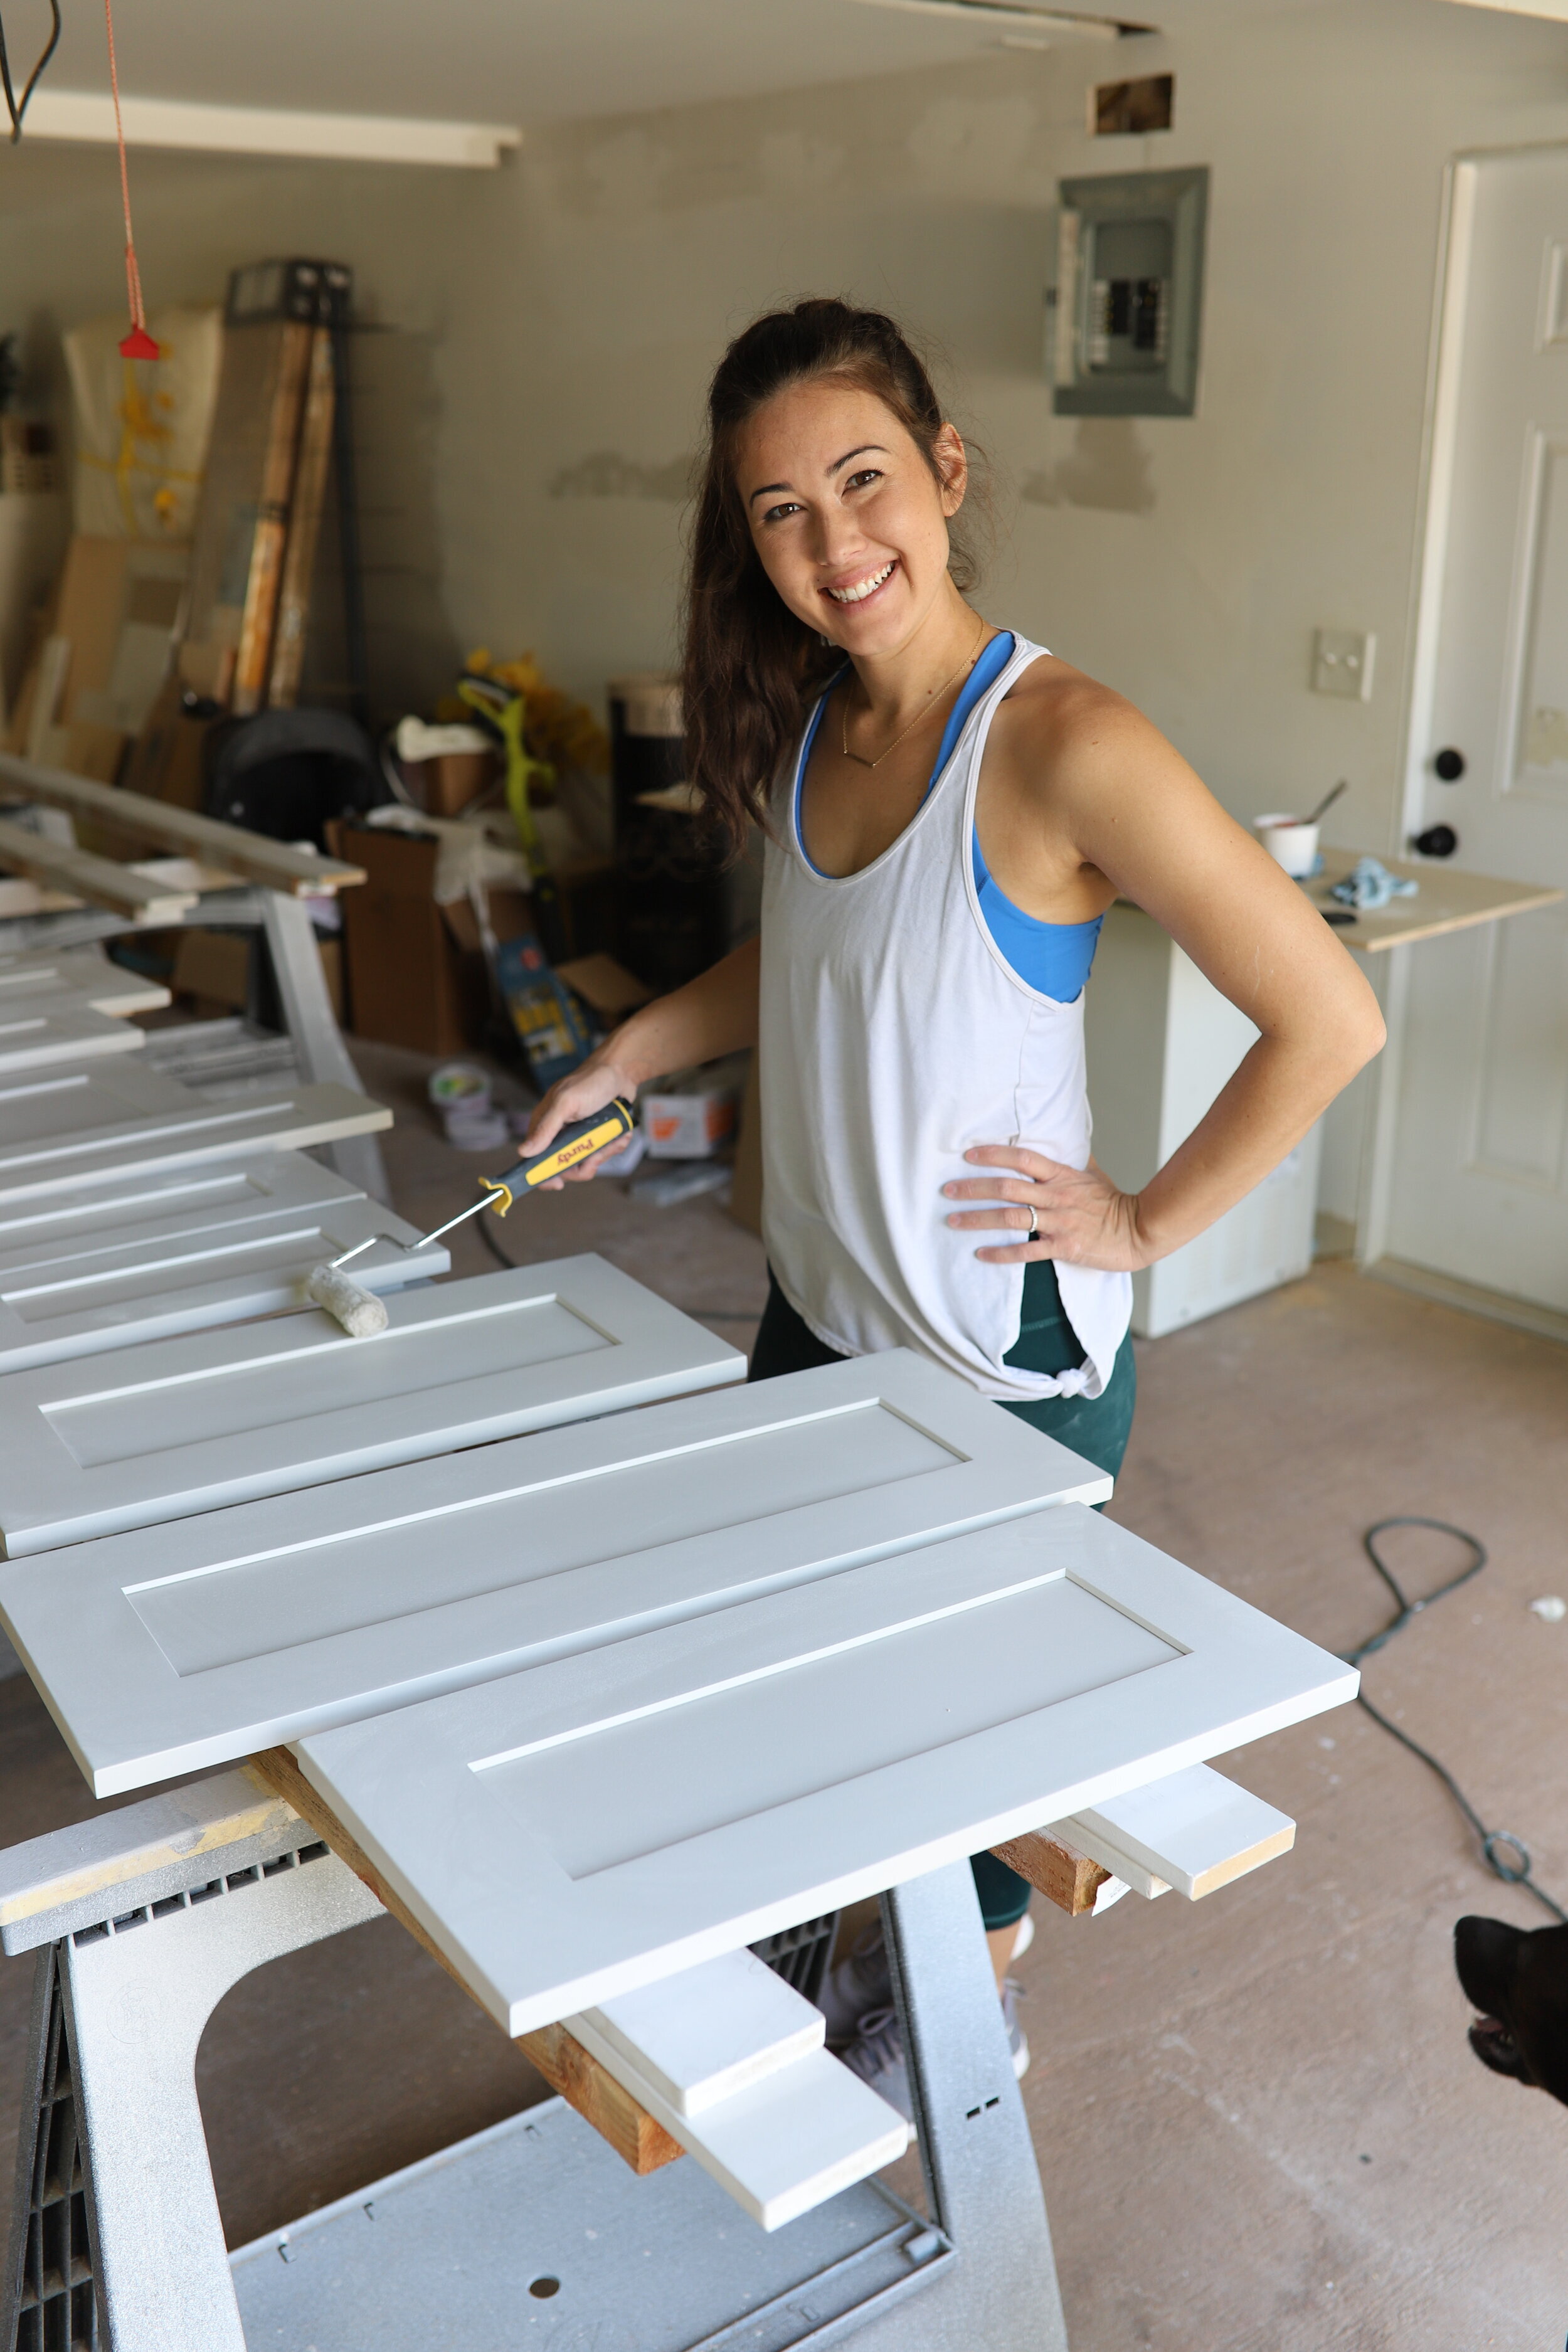
R O L L :
Now that the faces and doors have been given a light sand, it’s time for primer. I recommend using the Purdy 4” Jumbo Mini Rollers to roll primer on the face frames of the cabinets, and as well as the cabinet doors. If you have shaker door fronts, or doors with grooves on them, use an angled brush to get the grooves first.
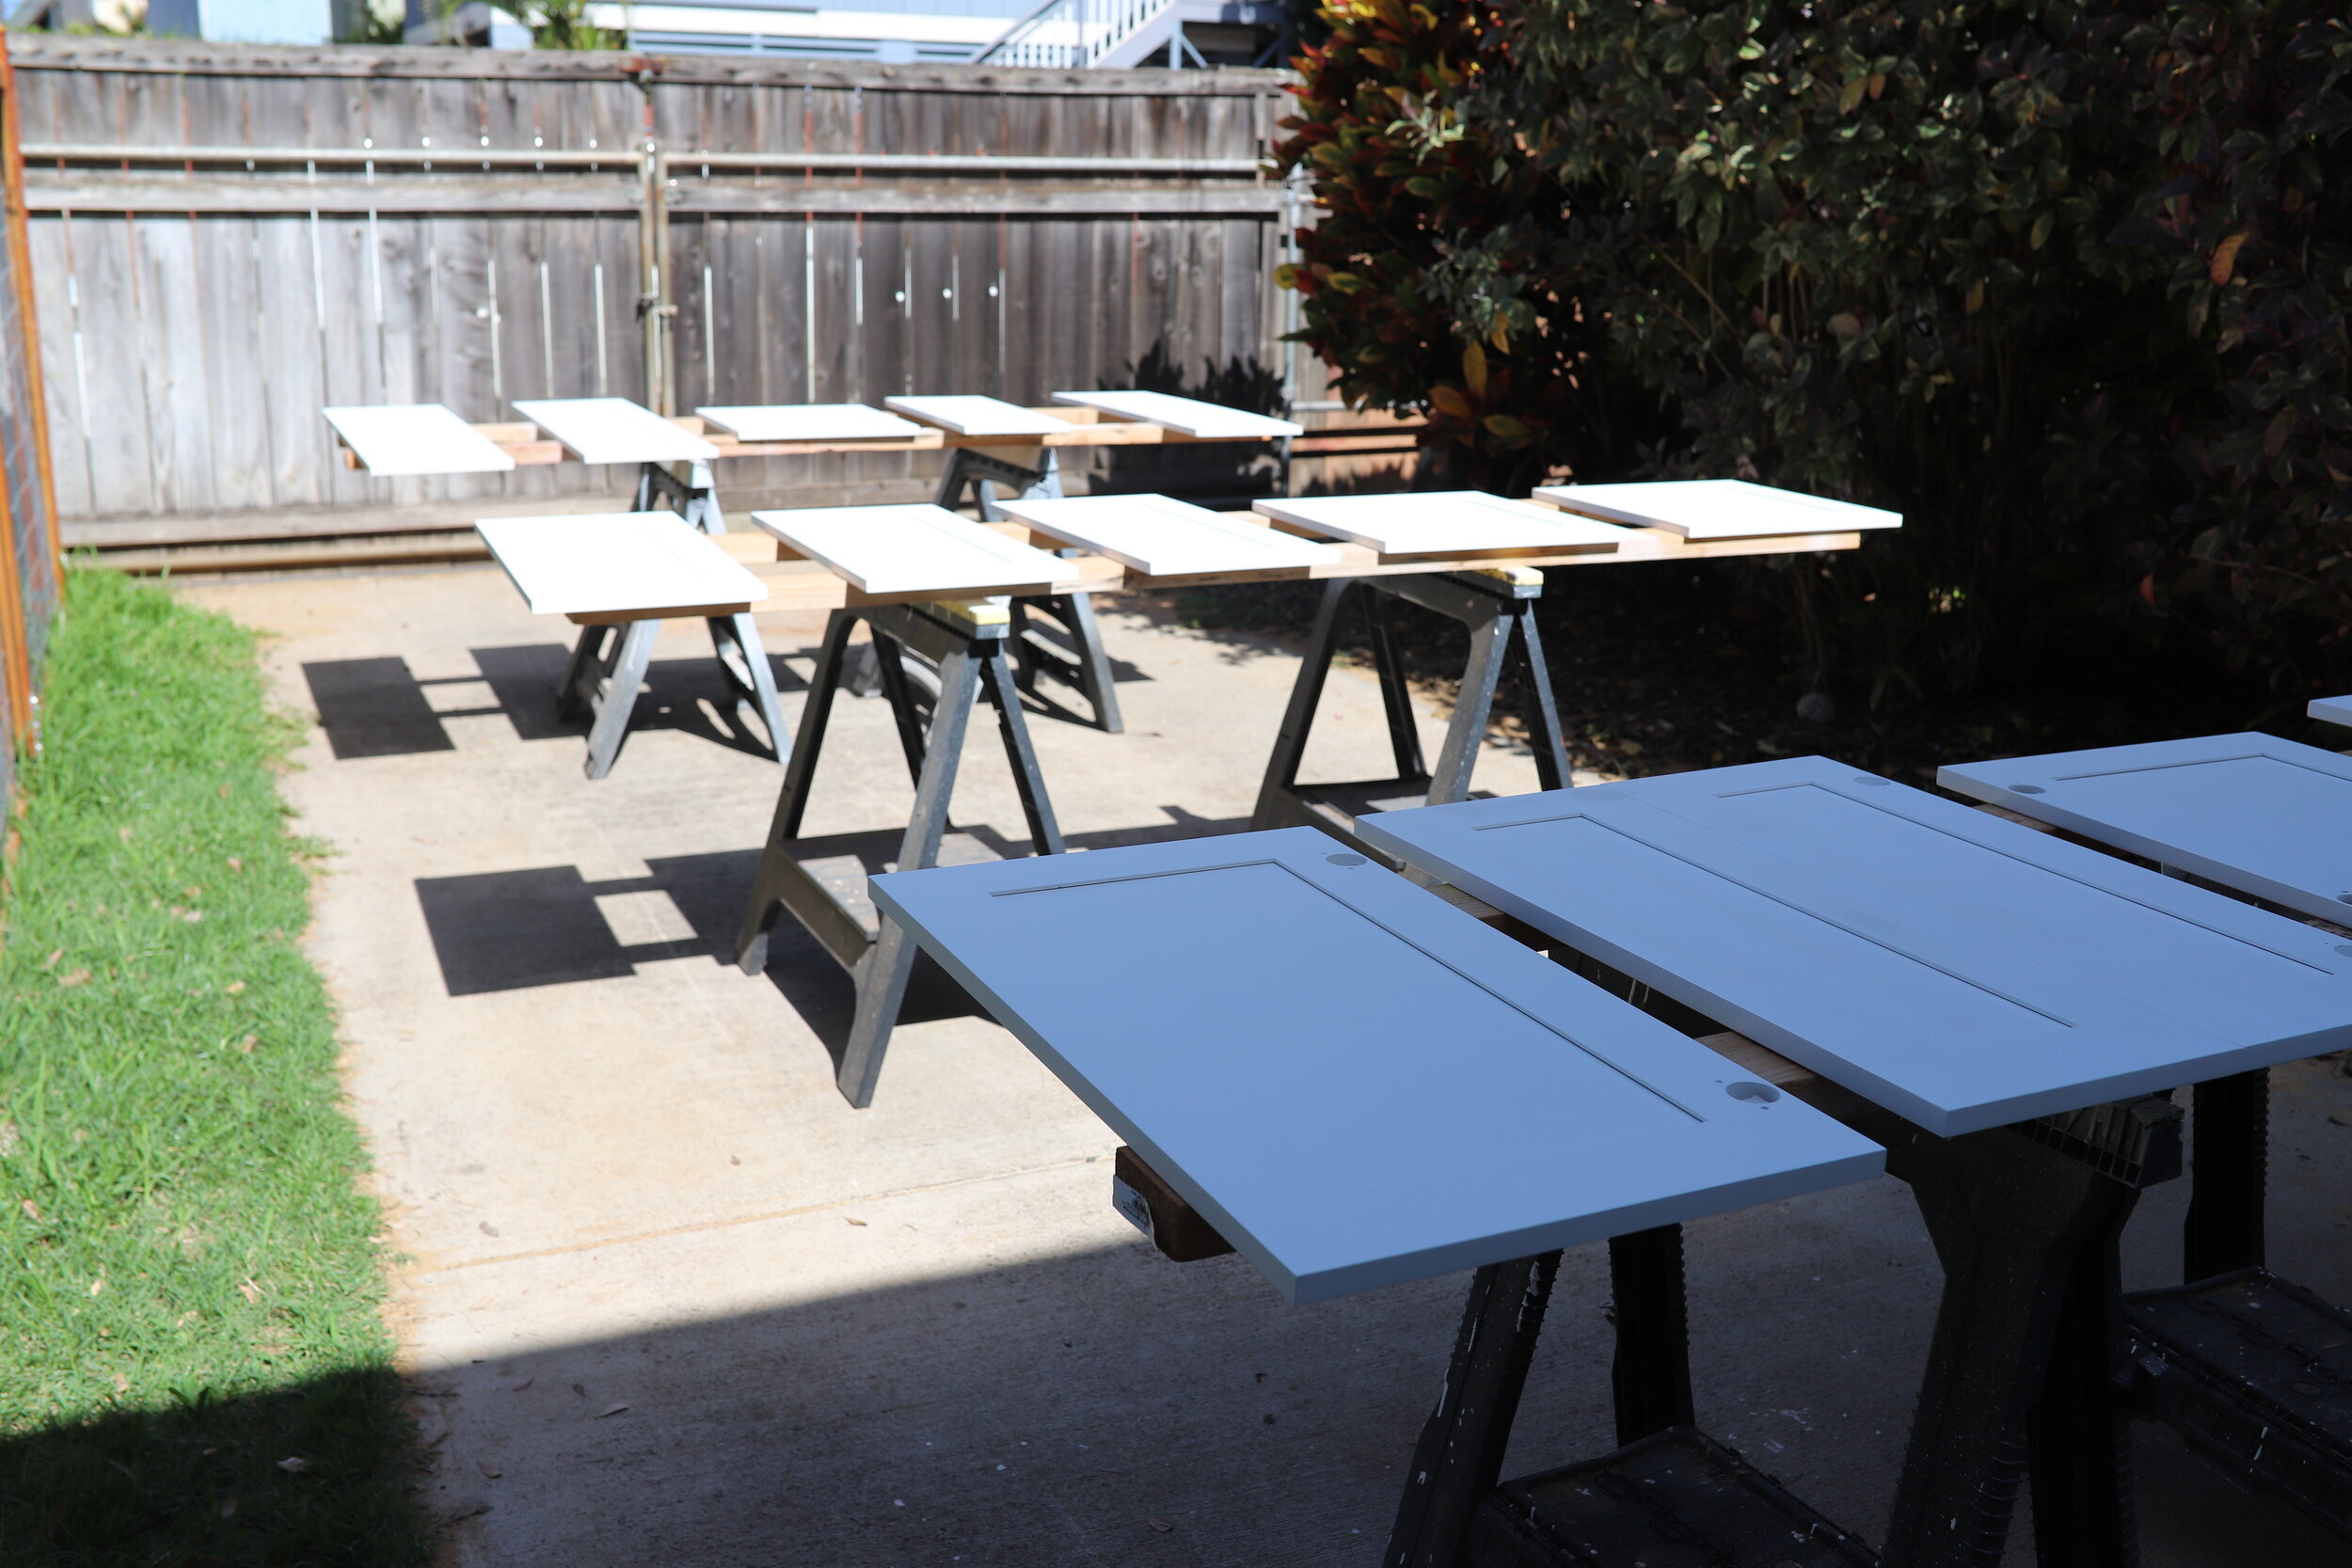
S P R A Y:
We lined up our cabinets on saw horses and put some MDF baseboards over 2x4’s to protect the cabinets. You can also buy some little painting triangles to prop your cabinets up, but we found laying out the cabinets on the 2x4’s pretty easy since we had a whole driveway to work with. We used our Wagner sprayer to spray on the primer and it wen’t pretty quickly. We still used a roller on the cabinet face frames.

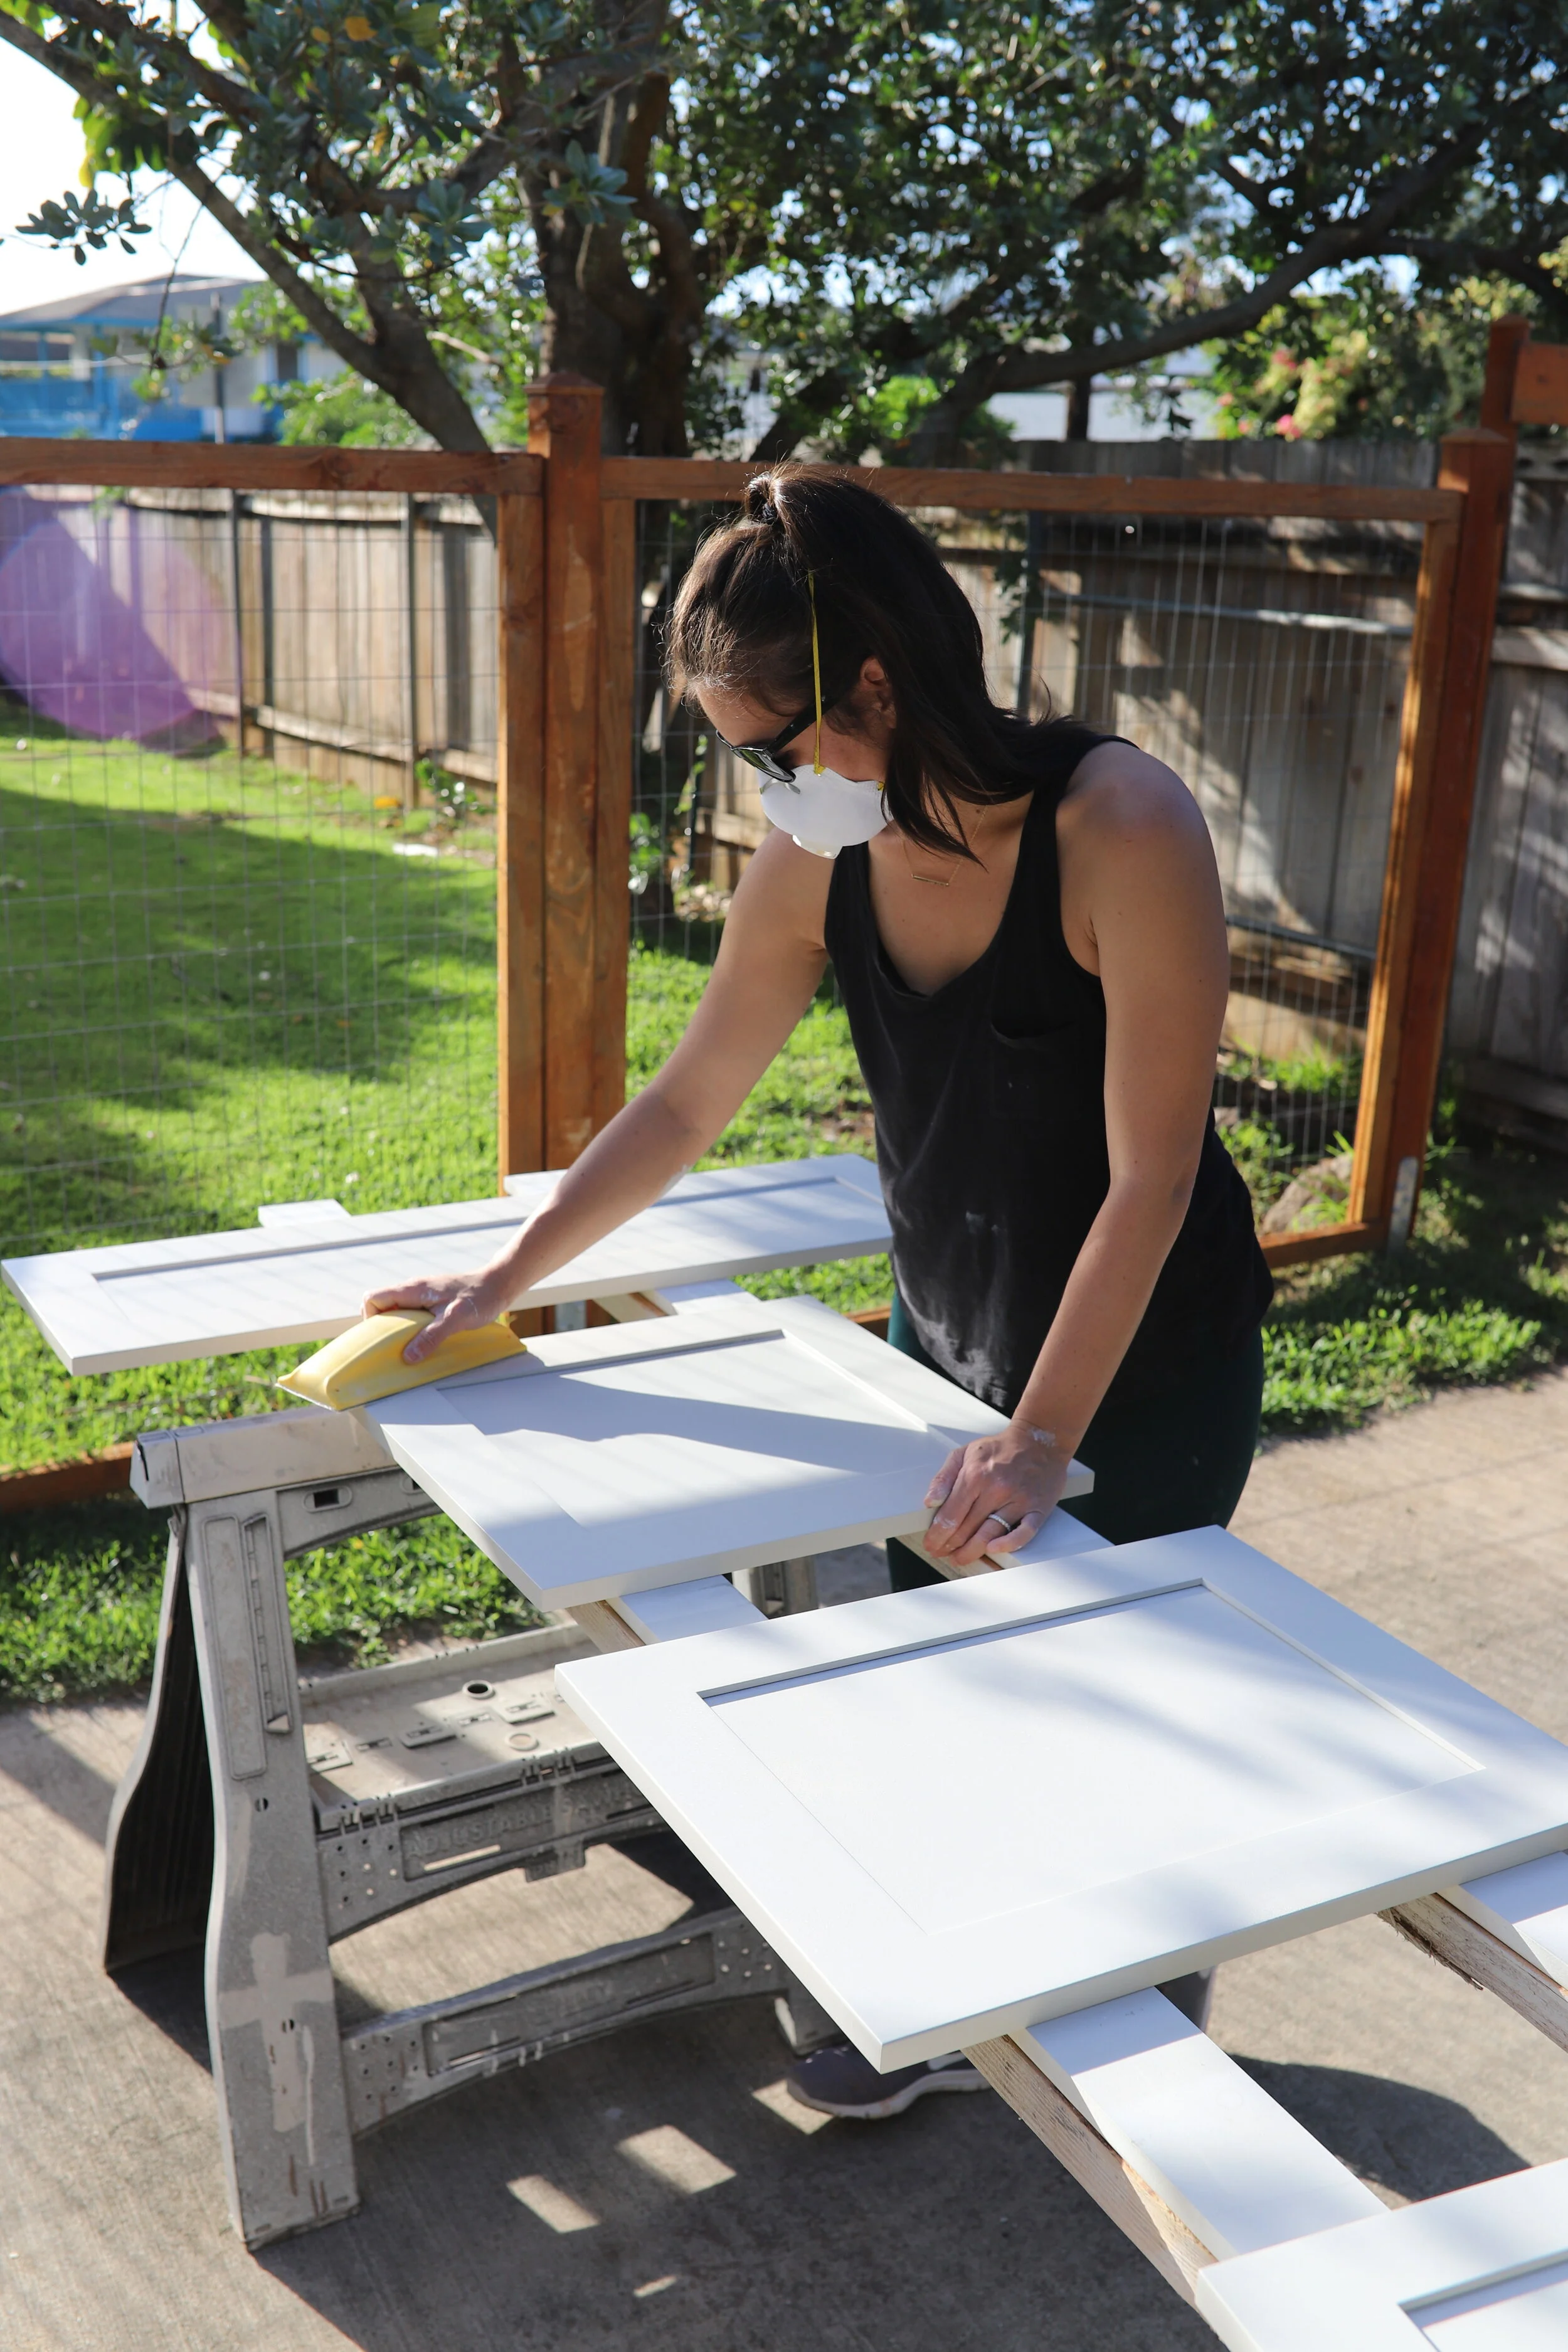
STEP 3: S A N D
After the primer dries, you must must must SAND. This is how you get a smooth factory-like finish. Don’t be alarmed if the primer looks a little textured, that’s normal. Go ahead and take your 320 - 400 grit sand paper and sand it down. Use the tack cloth to get all the dust off. One or two coats of primer is all you need, if you do two, SAND between each coat. Primer dries pretty quickly so you can probably get two coats of primer on in one day.
STEP 4: P A I N T

We decided to go with Sherwin Williams Urethane Trim Enamel in Gracious Greige for a few reasons, specifically the hardness and self-leveling properties of the product. I read reviews of people who had used it before, and they were really satisfied with how nicely the paint self-leveled. “Self-leveling” means the paint has oil-like properties to give you that oh so smooth finish with out the messy oil cleanup (spoiler alert- this paint just uses soap and water). Another great review raved about it’s durability and finish, and now that we’ve used it, we are 100% in agreement that this is the only paint we will use for furniture and cabinets from now on.
R O L L :
Next it’s time to paint. Start with the backs of the doors, and if you are going to roll, start with your angled brush and get in the crevices of the doors just like you did with the primer. Next, get your roller and go over the faces and the sides. The Sherwin Williams Urethane Trim Enamel Paint has oil-like properties and is self leveling, so don’t be alarmed it if it doesn’t look so smooth after it goes on, as it dries, it’ll get smoother and smoother. Don’t panic, just be patient.
TIP: Wrap your roller and paintbrush in plastic wrap and place it in the refrigerator overnight and reuse it the next day (and until the project is done). This saves you a ton of clean up time.
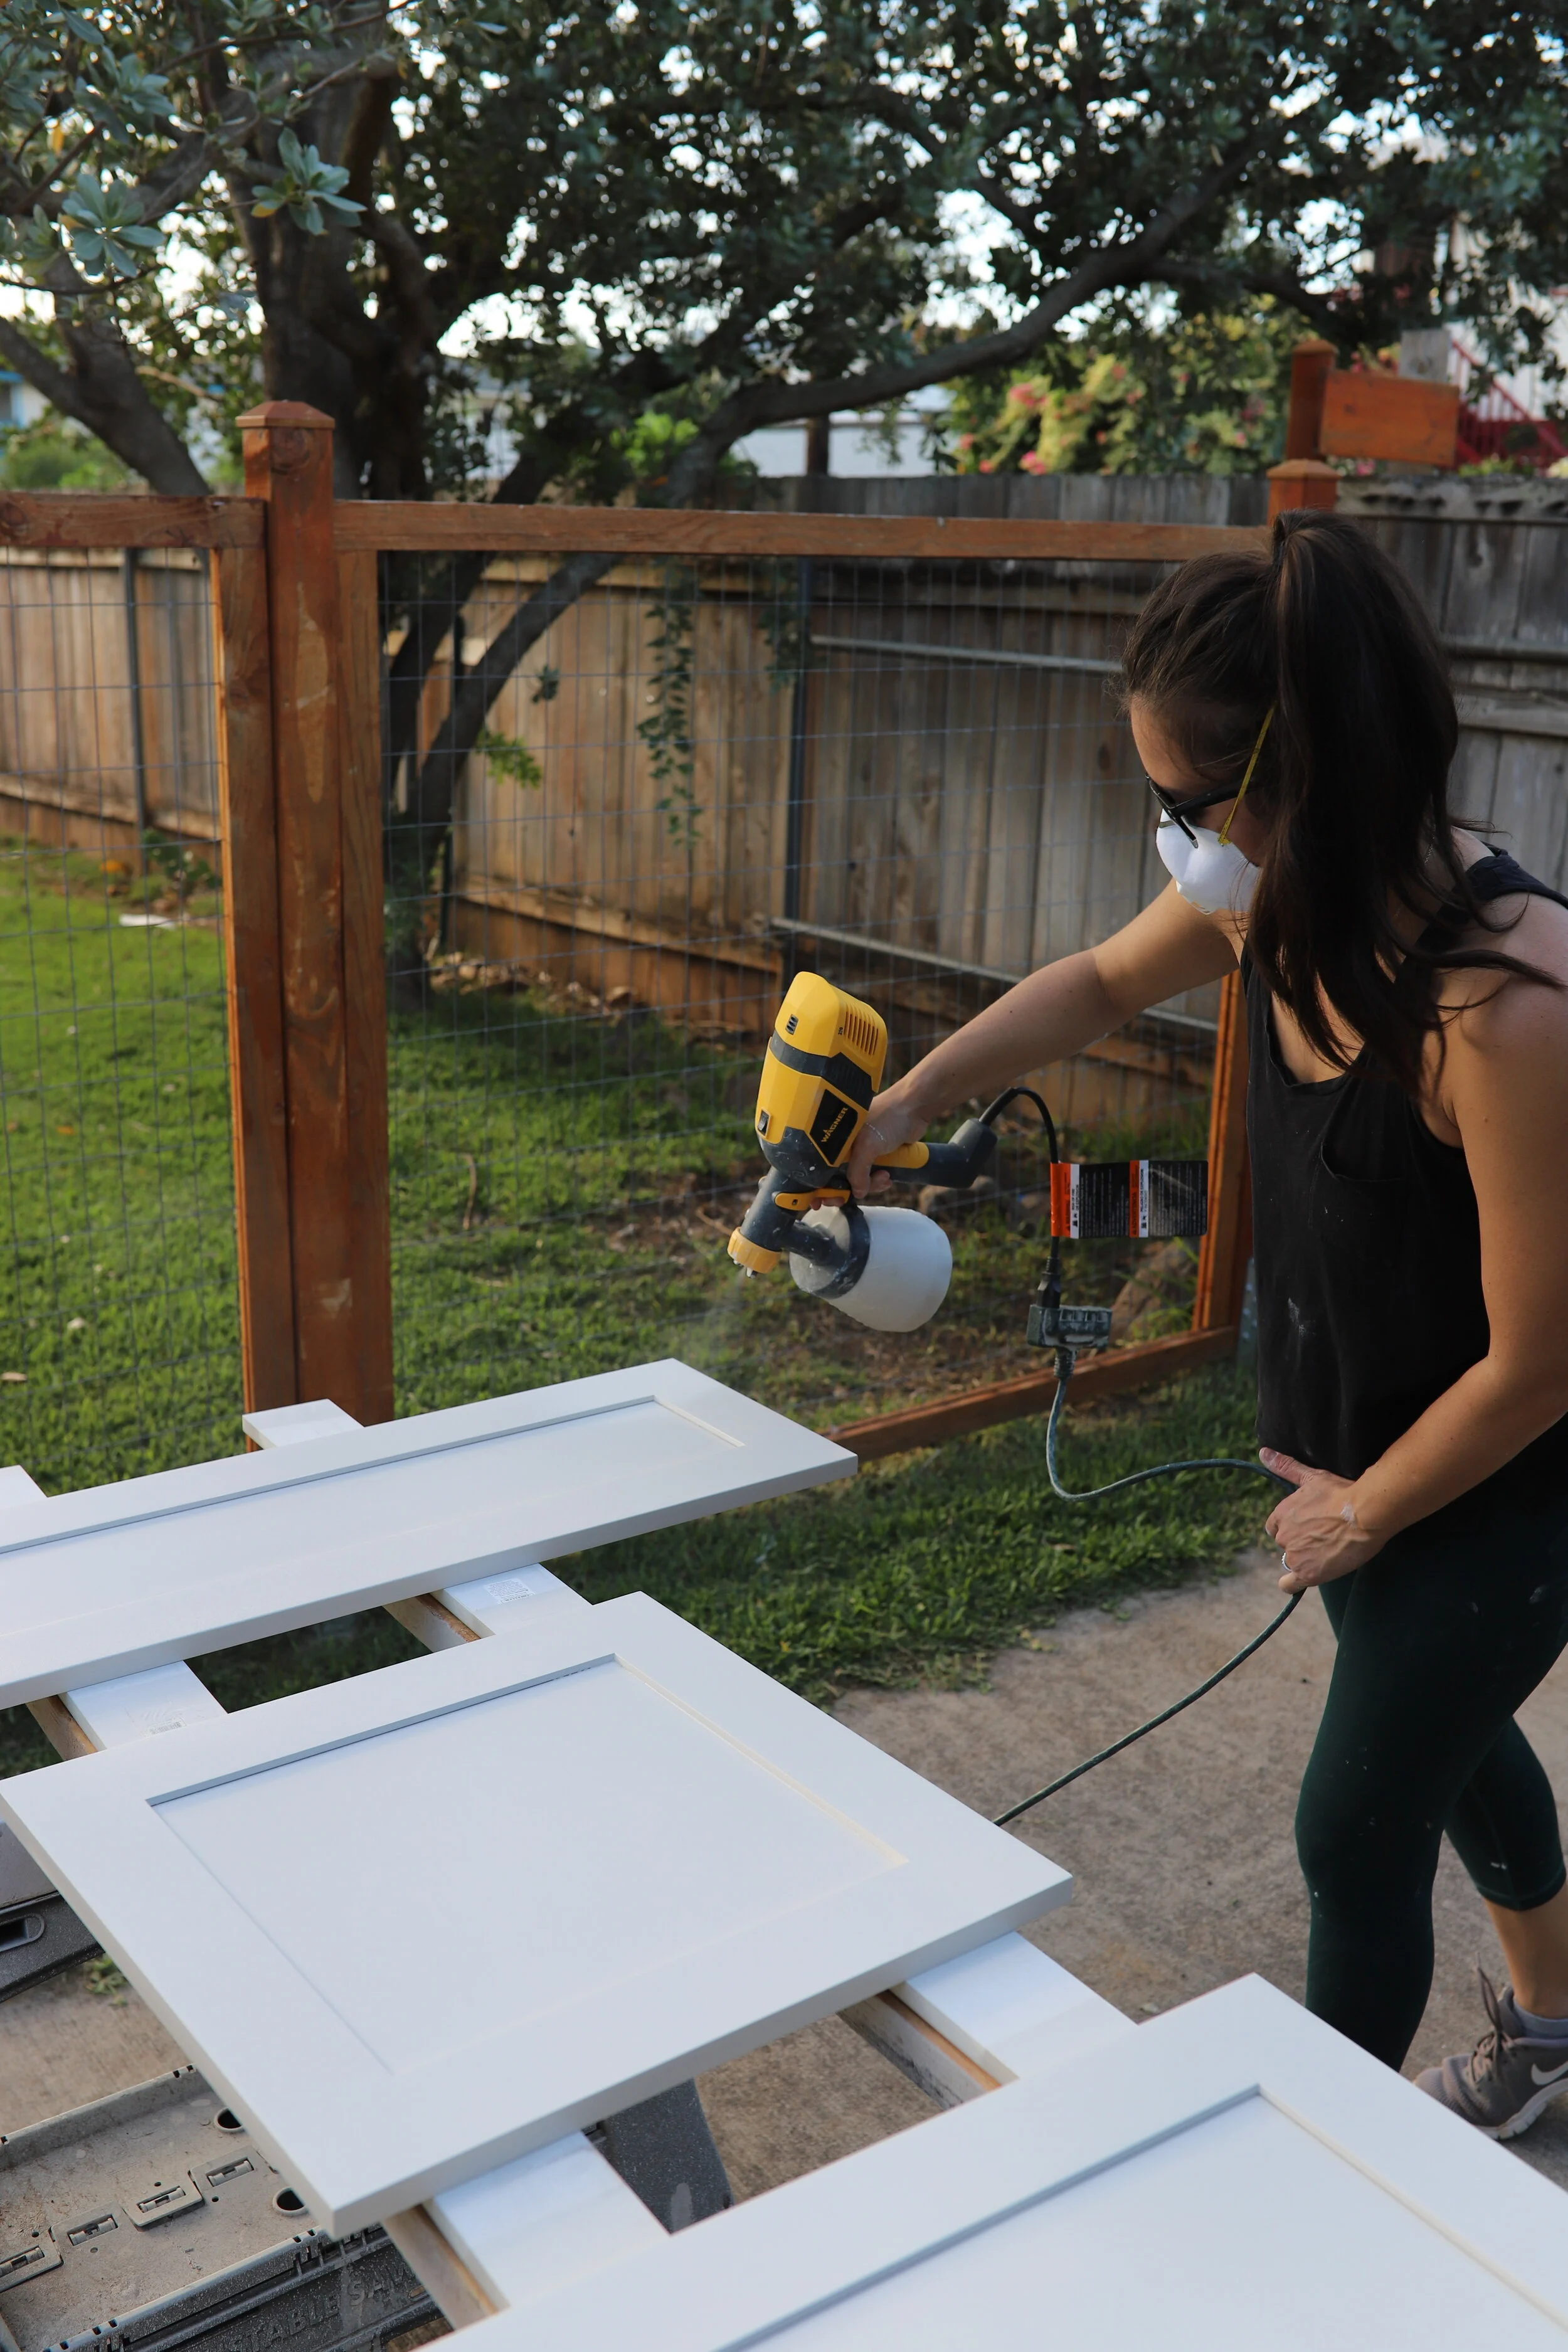
S P R A Y:
If you use a paint sprayer, make sure the surface underneath your cabinets are free of dust and debris. The paint sprayer blows a strong amount of air along with the paint and will kick up dust into your wet paint. This is why we liked to use the saw horses and elevate the cabinet doors off the ground. The downside is we were outside and as the wind blew, shmutz blew onto our cabinet fronts. We did a total of 3 coats of the Sherwin Williams Emerald Urethane Trim Enamel (4 hours dry time between coats), and the last coat we ended up painting in our garage so we wound’t get said shmutz stuck on there for our final coat.
.
THE TRICK FOR A SMOOTH FINISH
The key here is SANDING, and using a paint with oil-like properties such as the Sherwin Williams Emerald Urethane Trim Enamel. If you get little imperfections (darn you flying bugs) whether you spray or use a roller, you want to let the paint dry and then use a fine grit (think 300’s - 400’s) sandpaper and give it a sand. For example, when I was using my paint sprayer, I accidentally swung the cord across the front of my newly painted cabinet face. Of course I freaked, but then I let it dry and then gave it a fine grit sand before the next coat and you could never tell the difference. You don’t HAVE to sand in-between coast of paint (between coast of primer- yes and after you prime before the cabinet paint- yes), but it will only give you a smoother finish if you do. I did a light sand on some of my cabinet faces because we had sawdust and bugs get stuck in the drying paint and but infused was not the look I was going for. Oh side note- do NOT sand the final coat.
STEP 5: REASSEMBLE
After you let the cabinets dry, it’s time to reassemble them. Aren’t you glad you labeled what cabinet goes where in the hinge holes in the backs of the cabinet doors? Reinstall your hardware and you’re good to go. The paint will take up to 30 days to fully cure and harden, so just be gentle with them until then if you can’t bear to keep them tucked away for that long.
And there you have it. You have all the tools you need to get that factory smooth finish on your kitchen cabinets and I KNOW you can do it. Leave me a comment below if you have any questions, and go on- get after it!