DIY Zellige Tile Install
DIY Zellige Tile Install
We’re on the home stretch people, it’s Week 6, I don’t know about you but I am in full force panic mode. WHERE. DID. THE. LAST. SIX. WEEKS. GO?!
Alright, pull it together Sach. We got this.
We got the vanity top installed - whoo hoo! That was a big one. I wanted a soapstone- looking quartz and chose LG Brushed Carbo from American Floor and Home. That means the faucet could go in, and whabamzo, we got ourselves a working sink, people!
The wood shelves got installed as well and they really added a nice touch. The double cubby action was a nod to our double niche in the shower as well
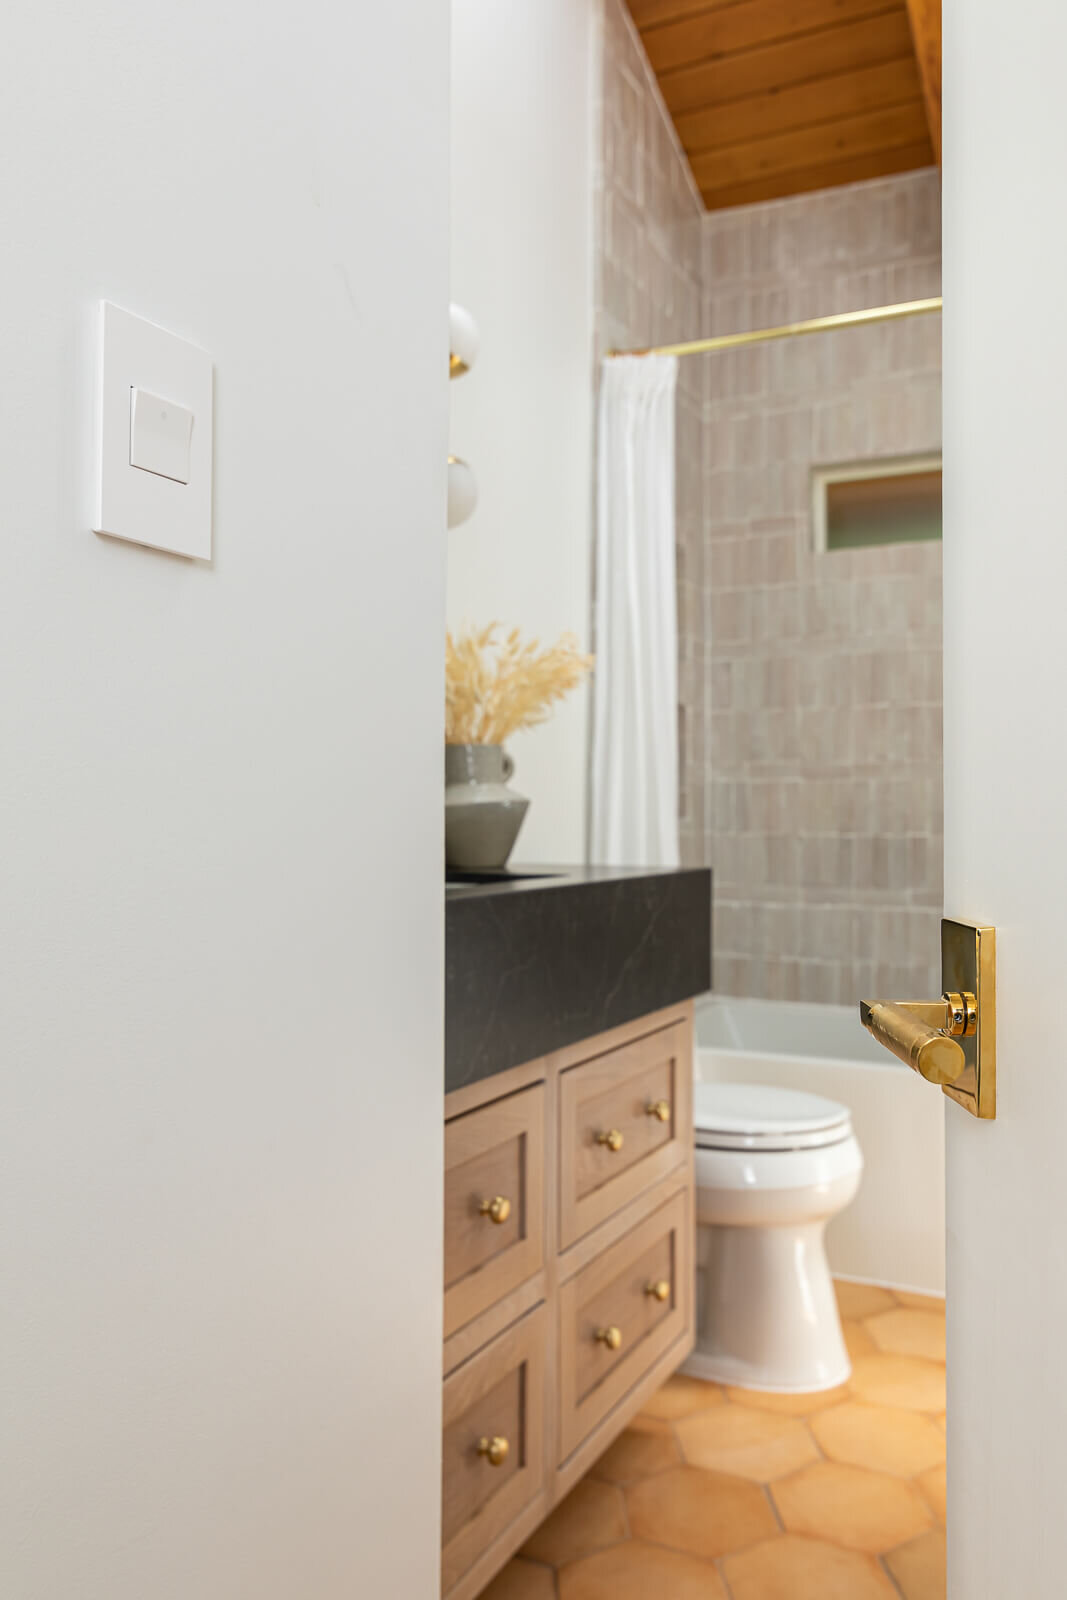
Here’s a little sneak peak of one of the vanity lights that ended up being really quite beautiful once I got it fully installed.
The tile is OFFICIALLY done, and I’m really pleased with the pattern I chose to lay the tile in. Mike thought it was weird at first, but dare I say, it’s grown on him! Sidenote - if Zellige isn’t in the budget, here’s an awesome option (and way easier to clean, btw). You can use code ‘SACHI15’ for 15% off, whoo hoo!
D E T A I L S
I get a lot of questions about the grout, mortar and overall technique for doing a DIY Zellige Tile install, so below you’ll find all the details and everything you’ll need. This is our second time installing it, and it’s safe to say we feel pretty good about our technique.
GROUT COLOR and THINSET
We used Mapei Avalanche for the grout which is the same grout color we also used in our kitchen. We used this thinset.
When starting the first row of tile, it’s good to put spacers on the bottom so you don’t have all the weight of the tile on your countertop or bathtub. You’ll caulk this line to close the gap.
I’d recommend using a laser level to ensure your rows of tile are going on straight. Due to the hand made nature of these tiles, its easy to get into an uneven pattern or “rainbow” effect. You’ll notice that your tile is starting to lay on an angle or bow. Use bits of construction paper as spacers (you can fold them to become as thin or thick as you need) to make the rows as even as possible.
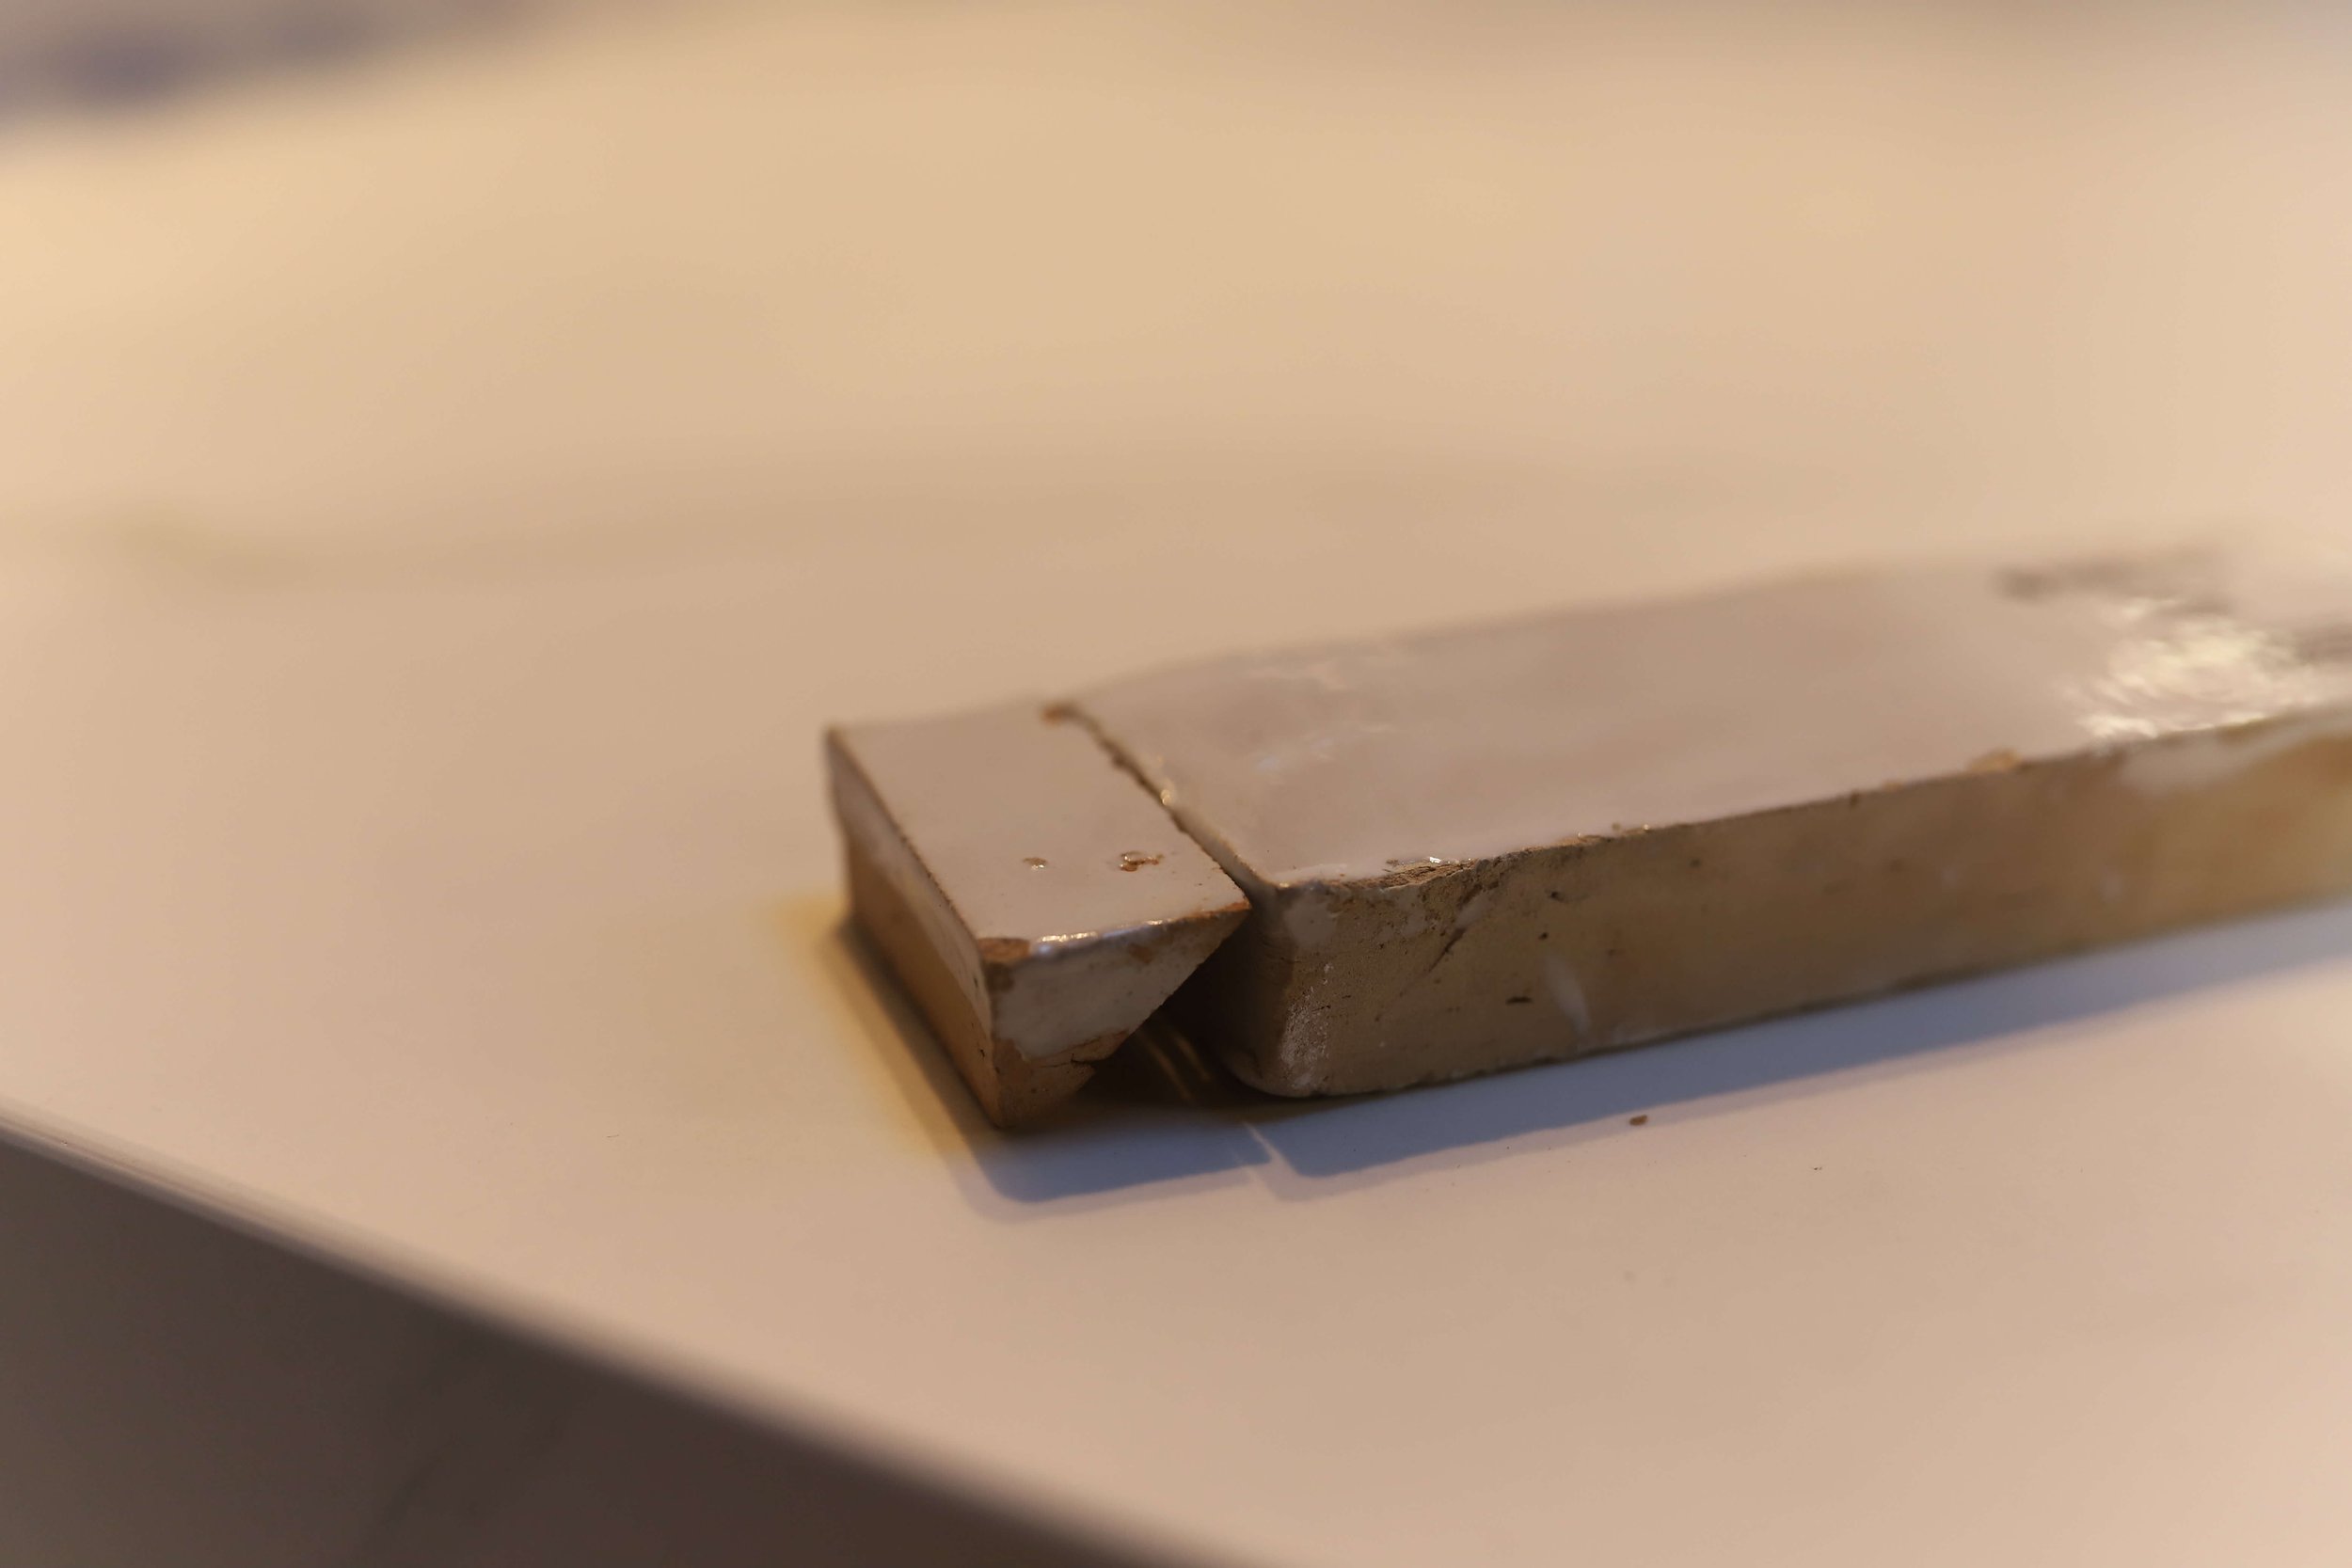
We mitered the corners of the Zellige tile to create a finished look on the edges. We did this both in our kitchen and bathroom. The Zellige tile is too thick to use a Schluter edge - I preferred this look anyway!
OUTLET BOX EXTENDERS
If you are doing your DIY Zellige Tile install in a kitchen or anywhere where you’ll have outlets, you’ll need these outlet box extenders. The Zellige tile is so thick, your outlet boxes won’t fit right.
You’ll also need a masonry drill bit to drill holes in the tile if you need to (like if you have a pot filler like the image below.) If you are putting the tile in your shower, you’ll need this diamond hole saw bit for the shower head pipe.
Reminder, when you are tiling walls, start with a ledger that is level (especially if your tub or shower floor slopes). Use this ledger to hold the weight of the tile, the circle back and tile it last. That way your uneven and angled cuts will be at the bottom, not the top.
Our beautiful Signature Hardware Dolwick shower fixture also got installed, it’s just the perfect touch of traditional and polished against the weathered zellige tile. We’ve been without a bathtub for over a year now, I’m excited for a soak once we’re done!
Ok, how STUNNING is this light fixture from Hudson Valley Lighting? It’s alabaster. I know, it’s just dreamy. The cloudy beautifulness on the globe compliments the beautifully uneven glaze on the tile. I can’t wait to share what both of them look like together, but I’ll save that for a little later!
Overall, this week was HUGE but we still have quite a bit on the list. Painting, caulking, baseboards, toilet install, and then the hardware for the vanity needs to go in. Oh, and of course the mirror. My beautiful mirror! Can’t wait to get that up.
Next week things basically need to get done because styling, photography and final touches all take time and I need that final week to wrap it up. I see quite a few late nights in our future.
The renovation from start to finish:
The Plan Design Plan Adding Skylights Bathroom Tile Zellige Tile Custom Vanity DIY Fluted Doors REVEAL
Ariene C. Bethea | At Home With Ashley | Banyan Bridges | Bari J. Ackerman | Brit Arnesen
Brownstone Boys| Cass Makes Home | Dominique Gebru | Gray Space Interiors| Haneen's Haven
Home Ec. | Nile Johnson Design | Pennies for a fortune | Prepford Wife | Rachel Moriarty Interiors
Susan Hill Interior Design | This Is Simplicite | Tiffany DeLangie | Victoria Lee Jones


